10 Wedding Hair Down Styles With Real Costs and DIY Verdicts
-
 Patricia T. Eliason | 10 Aug, 2026
Sneak Peak - Inspiration Gallery
What's Inside


Wearing your hair down on your wedding day looks effortless in every photo, but only if you understand what actually goes into it before your trial. Wedding hair down is one of the most requested topics I get from Pinterest brides, and almost everyone lands on the same real question. Do you spend $250 on a stylist for soft waves, or can you get the same look with a curling wand and twenty minutes at home? Below are 10 down hairstyles, ranging from loose waves to half up half down with a veil, and for each one I am telling you the real cost, whether it is worth doing yourself, and the exact products that actually make it hold. My best advice is to read the cost and hold-time notes before you fall for a photo, because some of these looks cost three times more than others for a very similar result.
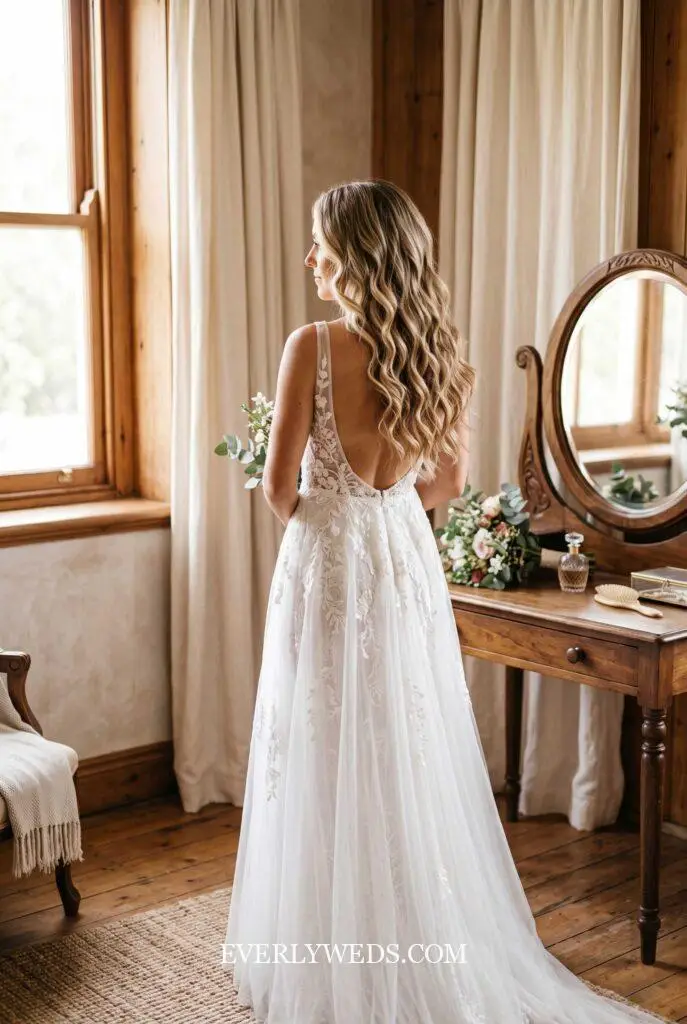
Soft Loose Waves, Hair Down With No Veil
This is the style I get asked about the most, and it is also the easiest to DIY well. A stylist will charge $150 to $250 for a wedding-day blowout and curl, which is honestly a fair price if your venue has zero mirrors or outlets for you to use. But if you want to do it yourself, the Beachwaver S1 rotates the barrel for you, so your wrist will not cramp halfway through curling a full head. Set your curls in alternating directions for a soft, undone wave instead of a uniform one. Lock it in with Oribe Dry Texture Spray, not hairspray, or you will end up with crunchy waves in every photo. This look holds 6 to 8 hours outdoors, less if it is humid.
Wedding Hair Down With a Cathedral Veil
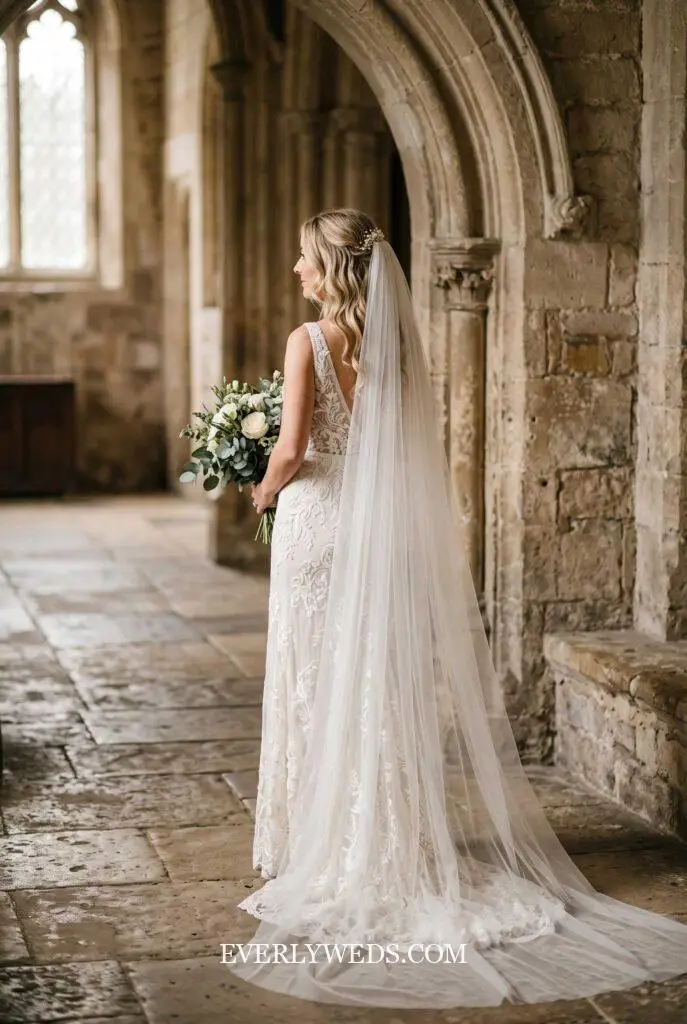
Wearing your hair fully down under a long veil is romantic, but it is also the pairing I see brides get wrong most often. If the veil sits too high on the crown, it flattens your waves the second you take it off for photos. Ask your stylist to tease and pin volume at the crown first, then attach the veil comb about two inches back, not right at your part. A cathedral veil from an Etsy shop like Elika Bridal runs $150 to $300, and it is worth ordering the ivory shade instead of pure white if your dress is not stark white either. Budget an extra $30 to $50 if you want your stylist to handle the veil placement during your trial.
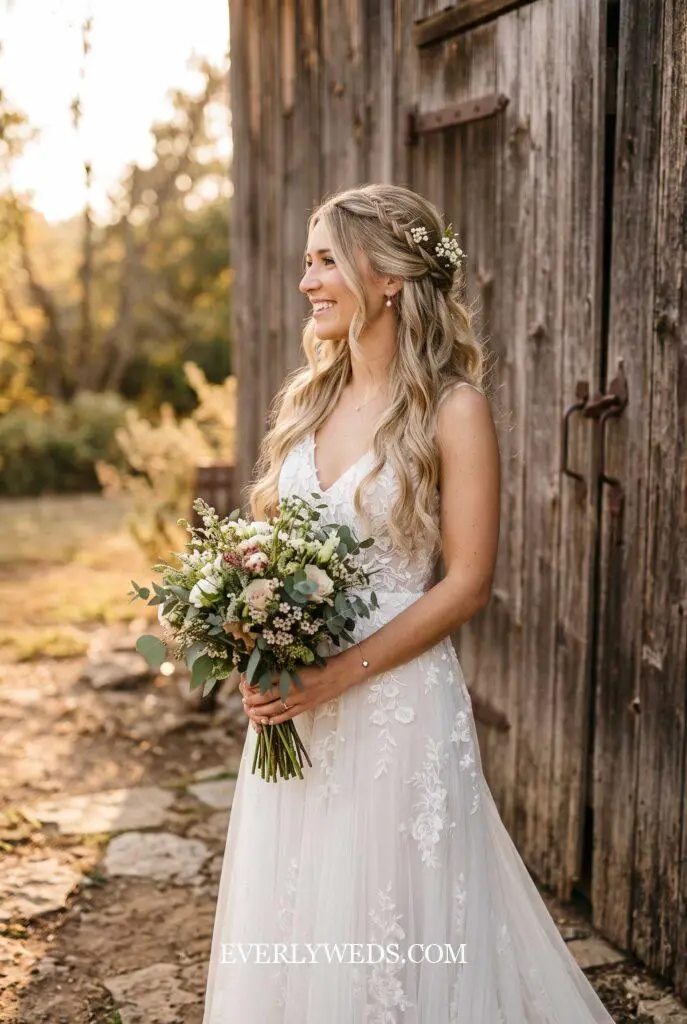
Half Up Half Down With a Braided Crown
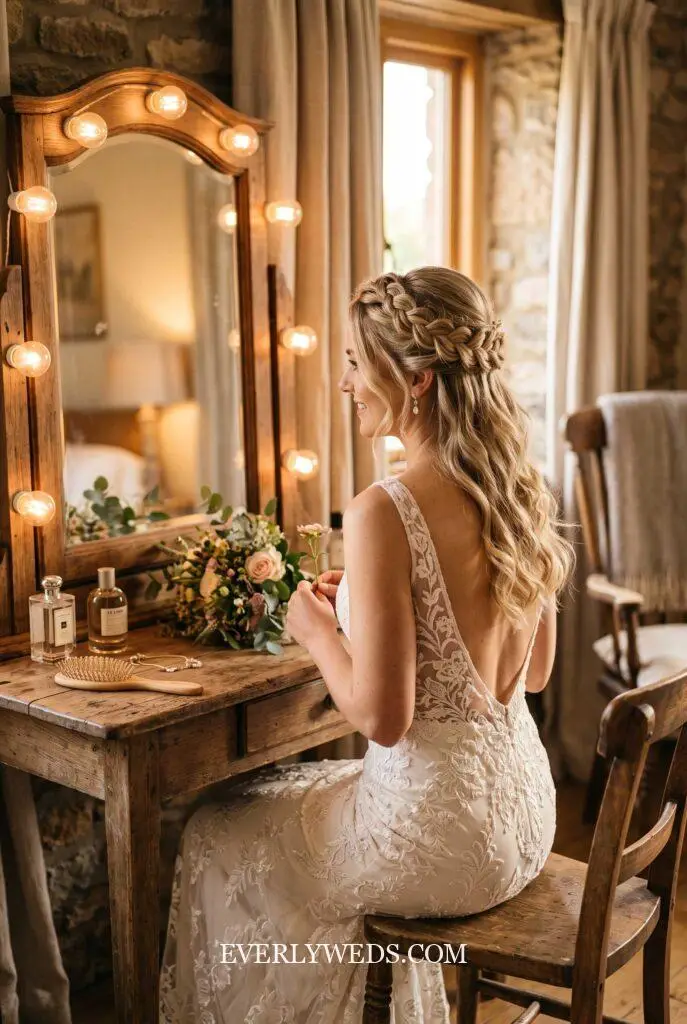
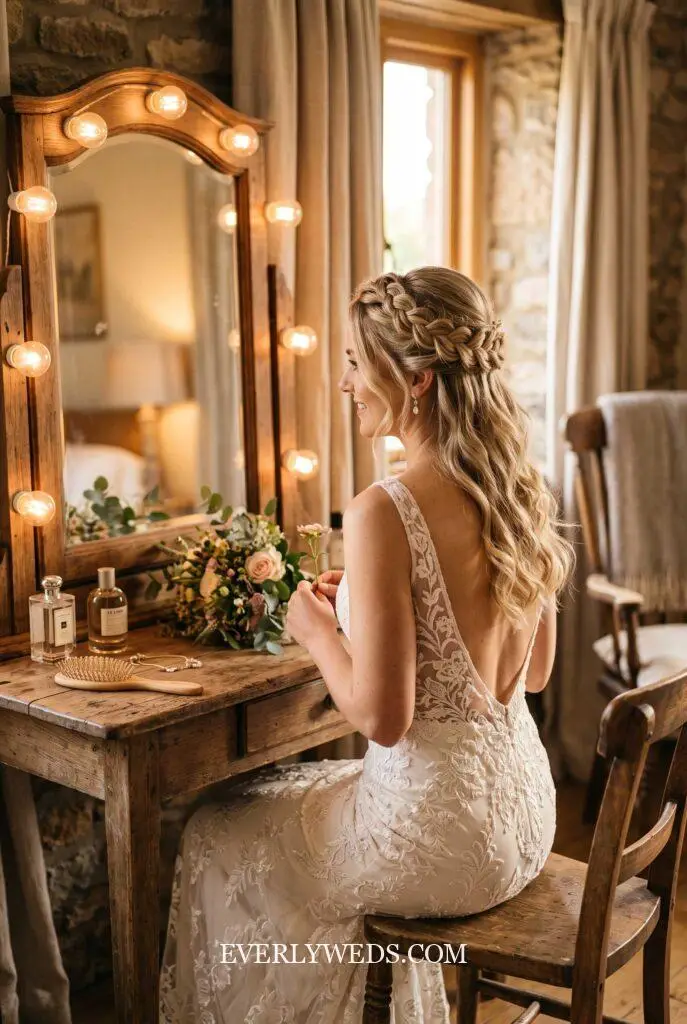
Half up half down is the style I recommend to brides who cannot decide between an updo and hair down, and it genuinely works for almost every hair length. A salon will charge $200 to $350 for this, which is more than a straight blowout because of the braiding time. The good news is this one is very doable as a DIY project if you practice twice before the wedding. Use Goody Ouchless bobby pins in a shade that matches your hair color, not the generic bronze ones, since mismatched pins show up in close-up photos. French braid two small sections from each temple and cross them at the back before pinning. This style holds all day, even through dancing.
Sleek Blowout, Hair Down and Straight
A sleek, straight blowout looks incredibly modern, but I will be honest, it is the style most vulnerable to weather. I got married at my family’s lake house in Wisconsin in August, and the humidity had my straight blowout curling at the ends within two hours, no matter how much product we used. If your venue is outdoors or near water, ask your stylist about a keratin blowout add-on, which usually adds $75 to $100 but genuinely holds against humidity. For DIY, the Dyson Airwrap smooths without the heat damage of a flat iron. Finish with Kenra Platinum Anti-Humidity Spray, and reapply it right before your ceremony starts, not just in the morning.
Curly Hair Down With Clip-In Extensions
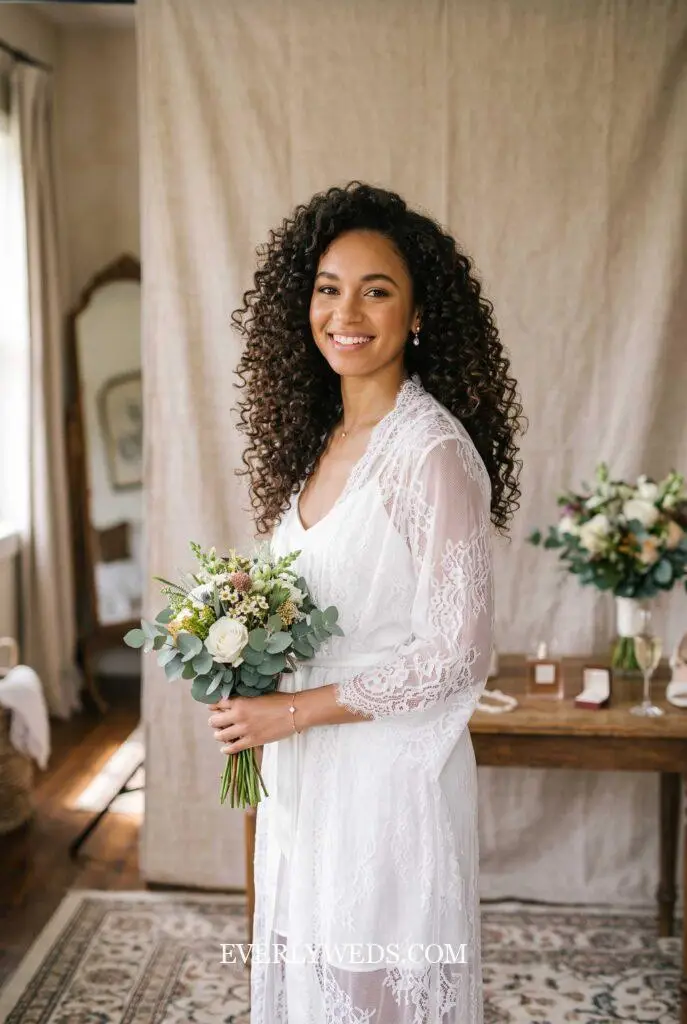
If your hair is fine or thin, adding volume with clip-in extensions before curling makes a bigger difference than any product will. Cliphair’s Deluxe Seamless set runs $150 to $250 depending on length, and I always tell brides to order a shade lighter than they think, since extensions read darker once they are curled. A stylist will charge an extra $40 to $60 to blend and curl your extensions in with your natural hair. This is not a great first-time DIY project, honestly, since blending clip-ins takes practice to look natural instead of chunky. Book your trial specifically with extensions in, not without them, so you know exactly what the finished curl pattern will look like.
Boho Half-Up With Fresh Flowers
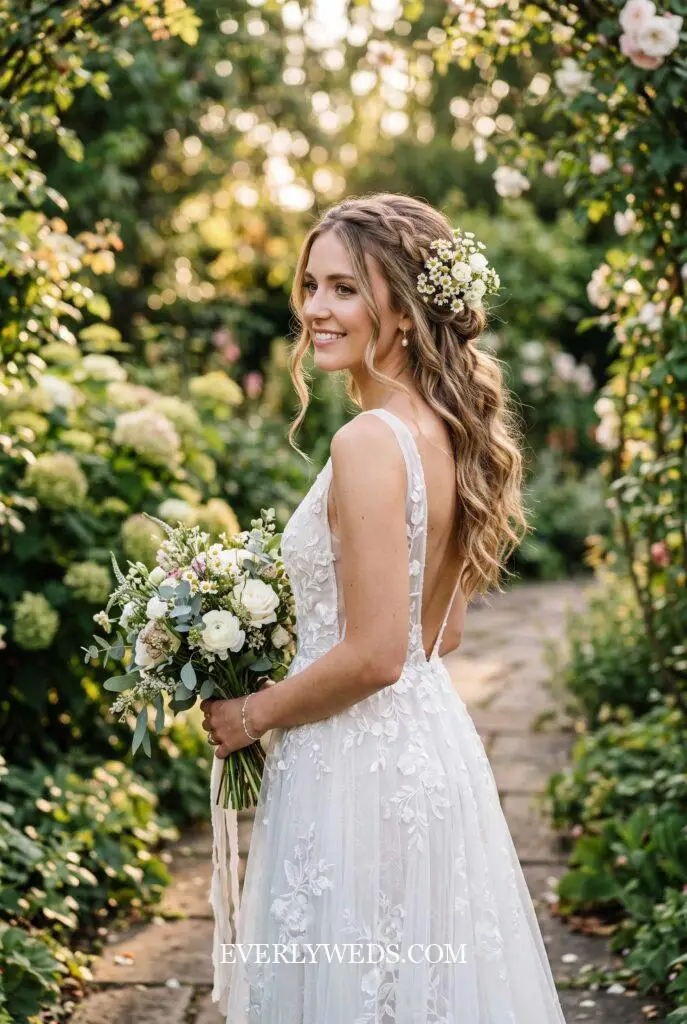
This is one of my favorite looks for an outdoor or garden-style wedding, and it photographs beautifully with almost any dress. Ask your florist to set aside a few extra stems, usually an add-on of $20 to $40, in wire picks so your stylist can tuck them into a half-up style. If your florist is not doing hair flowers, Afloral sells realistic faux stems for around $8 to $12 each that hold up far better than fresh ones in heat. Pin them in a loose cluster near one temple rather than scattered evenly, which looks more intentional and less like a crown. This pairs well with loose waves underneath, not sleek or straight hair.
Old Hollywood Waves, Hair Down and Glam
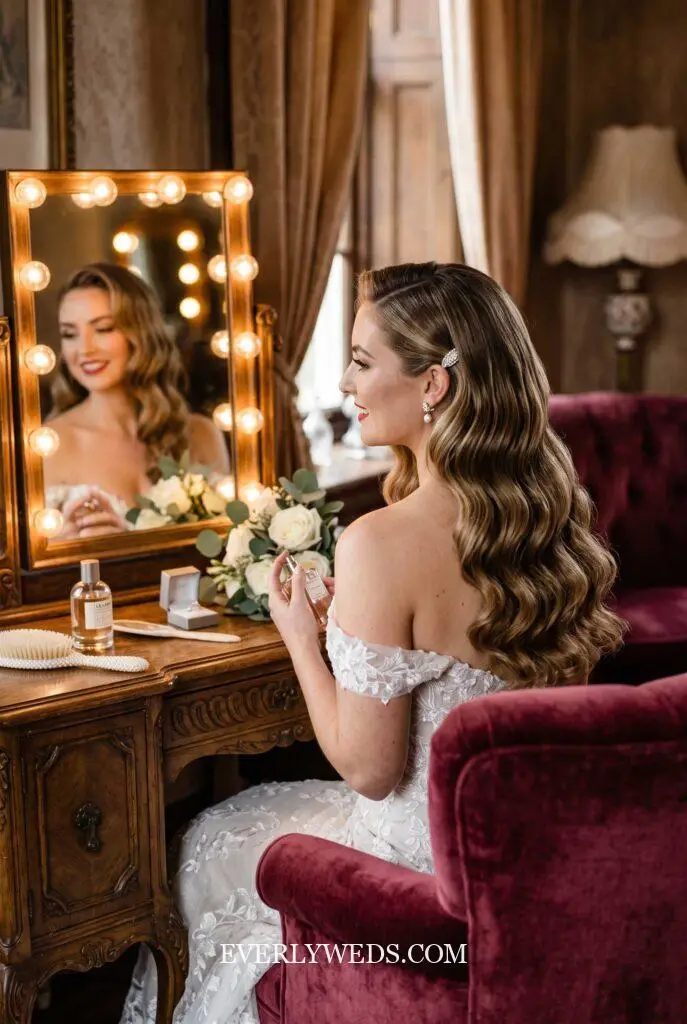
Old Hollywood waves are the uniform, glossy, S-shaped curls you see in vintage photos, and they take real skill to get right. A salon will charge $250 to $350 for this look because it requires setting each section in the same direction and brushing it out carefully afterward. I would not recommend this as your first DIY attempt, since uneven direction reads messy instead of glamorous. If you do want to try it, use a 1-inch barrel, like the T3 SinglePass, and always wrap away from your face. Finish with a boar bristle brush to break up the curl into soft waves without losing the shine. This look needs strong hold spray to survive past your first dance.
Wedding Hair Down With a Birdcage Veil
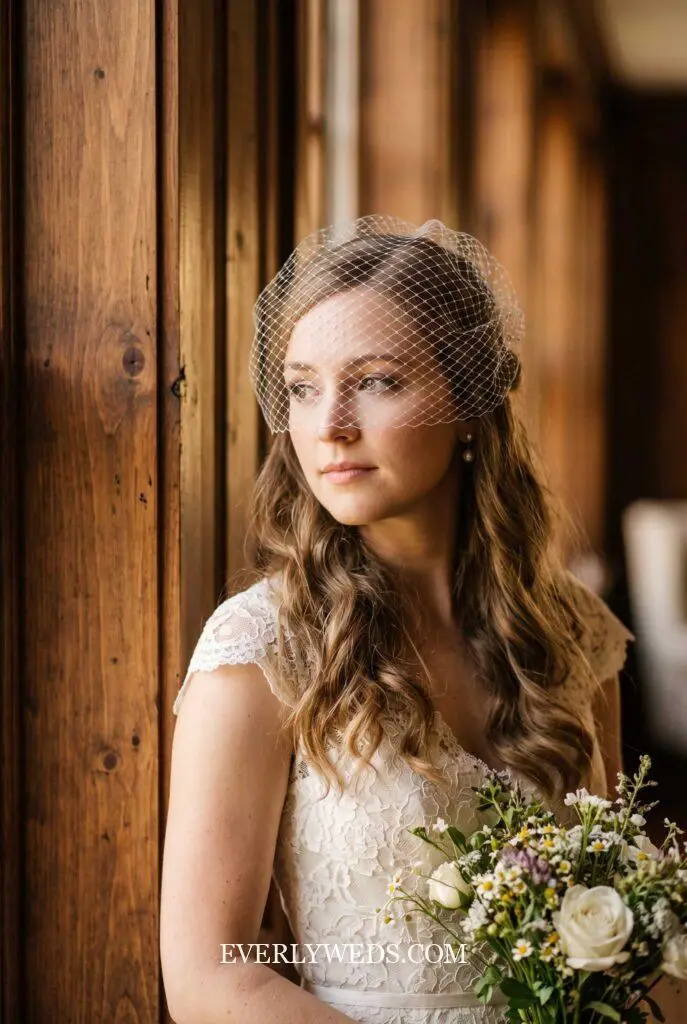
A short birdcage veil paired with hair worn down is a great option if you want something down but still bridal, and it works especially well with shorter hair. These vintage-style veils run $80 to $150 on Etsy, and I would order from a shop with at least 50 reviews, since birdcage netting quality varies a lot. Ask your stylist to add volume and a slight wave at the crown before attaching it, since flat hair under a birdcage veil looks a little sparse. This is a genuinely easy DIY veil to attach yourself with two bobby pins, no stylist needed. It pairs best with a low bun of hair tucked underneath or fully loose waves.
Soft Ringlets With Pearl Pins
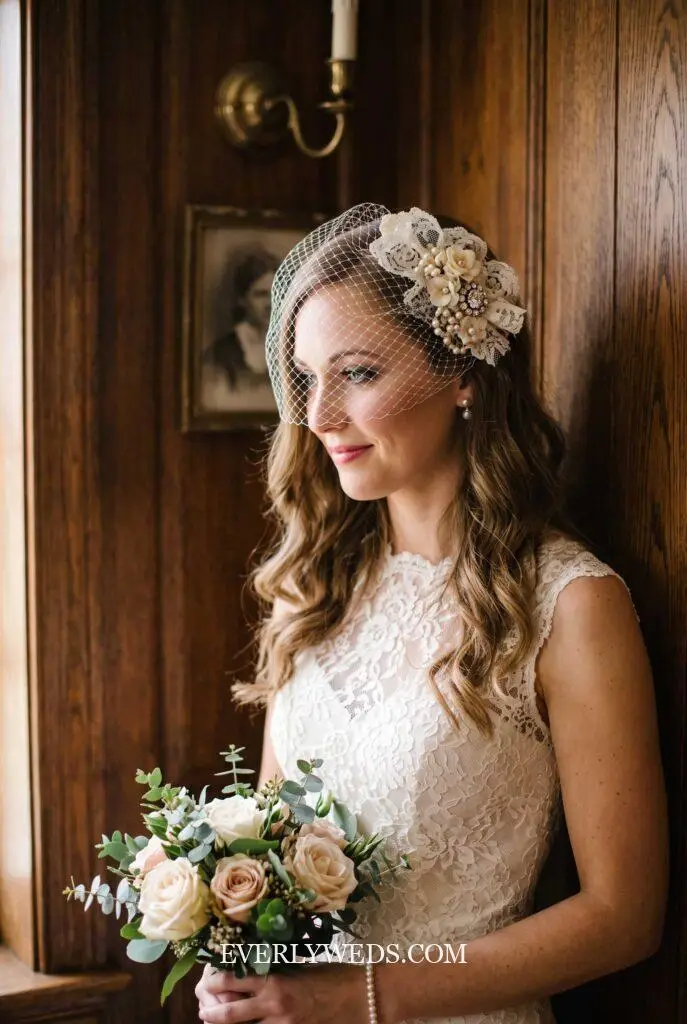
Soft, defined ringlets feel a little more romantic than loose beach waves, and pearl pins dress them up without needing a veil at all. A stylist will charge $180 to $280 for defined curls, since each section needs to be curled and cooled before brushing out. Brides & Hairpins sells sets of pearl-topped pins for $25 to $45, and my best advice is to order more than you think you need, since a few always end up on the floor by the end of the night. Space the pins asymmetrically through the curls instead of in a straight line for a more natural look. This style holds beautifully for 8 plus hours.
Half-Up With a Fishtail Accent Braid
A single fishtail braid woven into a half-up style adds detail without going full boho, and it is a great middle ground if you want texture but not flowers or a veil. A salon charges $200 to $300 for this, mostly for the time it takes to fishtail braid neatly. Honestly, this one is worth practicing at home first, since a loose fishtail looks intentional but a lumpy one just looks unfinished. Use a fine-tooth rat tail comb to keep sections clean as you braid. Pull the braid apart gently once it is pinned to soften it, or it will look too tight and structured for a soft bridal look.
Whichever style you save to your wedding board, book your trial early and bring this list with you so your stylist knows exactly what you are asking for and why. The right hair down look is the one that still looks like you by the end of the night, not just in the first hour of photos.