15 Simple Wedding Hairstyles Ranked From Cheapest DIY to Full Salon Price
-
 Patricia T. Eliason | 03 Aug, 2026
Sneak Peak - Inspiration Gallery
What's Inside


Simple wedding hairstyles are the low buns, soft waves and easy half-up looks that photograph beautifully without an hour of teasing and a full can of hairspray. They’re some of the most saved wedding hair ideas on Pinterest right now, and for good reason: they hold up through an entire reception and they don’t demand a $400 updo appointment to pull off. But here’s what most simple wedding hairstyle roundups skip over. They show you the picture and never tell you what the look actually costs, or whether you can realistically do it yourself on your wedding morning. I’ve sat through enough bridal suite mornings and helped enough brides do their own hair in a hotel bathroom to know the answer is different for every single style. So I ranked fifteen of my favorite cute wedding hairstyles from the ones you can DIY for under twenty dollars to the ones worth paying a stylist for, with real prices attached to each one.
1. Soft Waves Worn Down
This is the easiest simple wedding hairstyle to pull off yourself, full stop. Curl one inch sections away from your face with a one inch wand like a T3 or a Bed Head, then run your fingers through the curls to loosen them up. If you already own a good wand you’re looking at $0, plus maybe $15 for a heat protectant like Bumble and bumble Hairdresser’s Invisible Oil. If you’d rather hand it off, a salon blowout with waves runs $70 to $100 and takes about 45 minutes. My best advice is to practice this look twice before your wedding day so your arm knows the rhythm. This is one DIY that genuinely works.
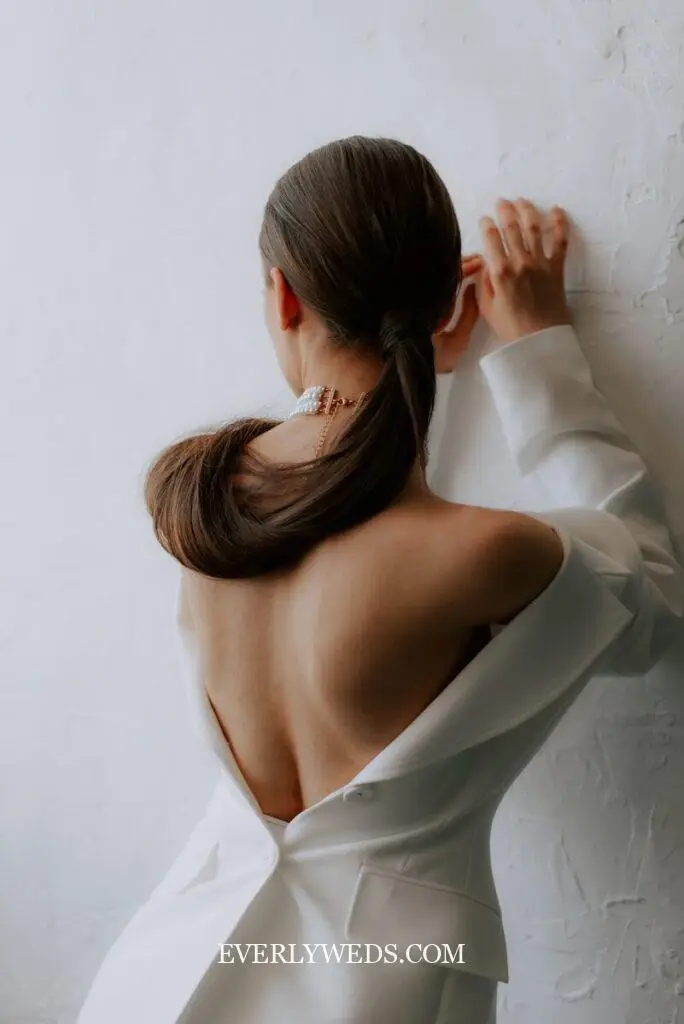
2. Sleek Low Ponytail
A sleek low ponytail is deceptively hard to DIY without a mirror behind you, but it’s doable with practice and a good gel. Smooth flyaways with something like Bumble and bumble Gel or Eco Styler, gather low at the nape, and wrap a small section of your own hair around the elastic to hide it. Budget about $15 for gel and a couple of Kitsch snag-free ties. A stylist will charge $65 to $90 for this same look and can get it glass-smooth in a way I have never quite matched at home. If your dress has a high neckline, skip this style. But if you’ve got an open back or a plunging neckline, this is the one.
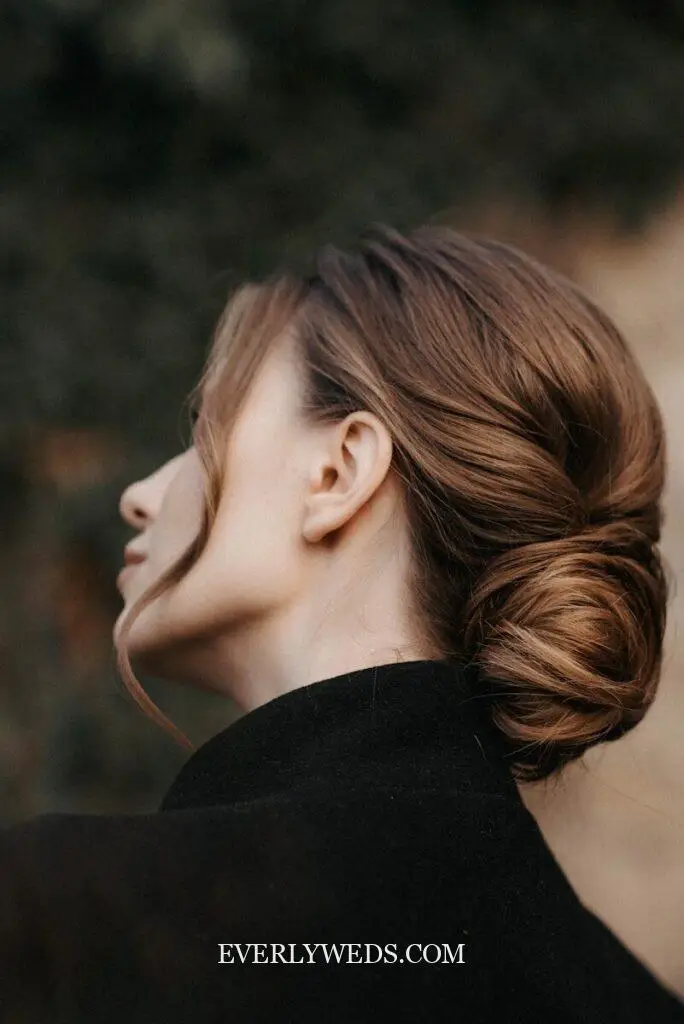
3. Loose Low Bun
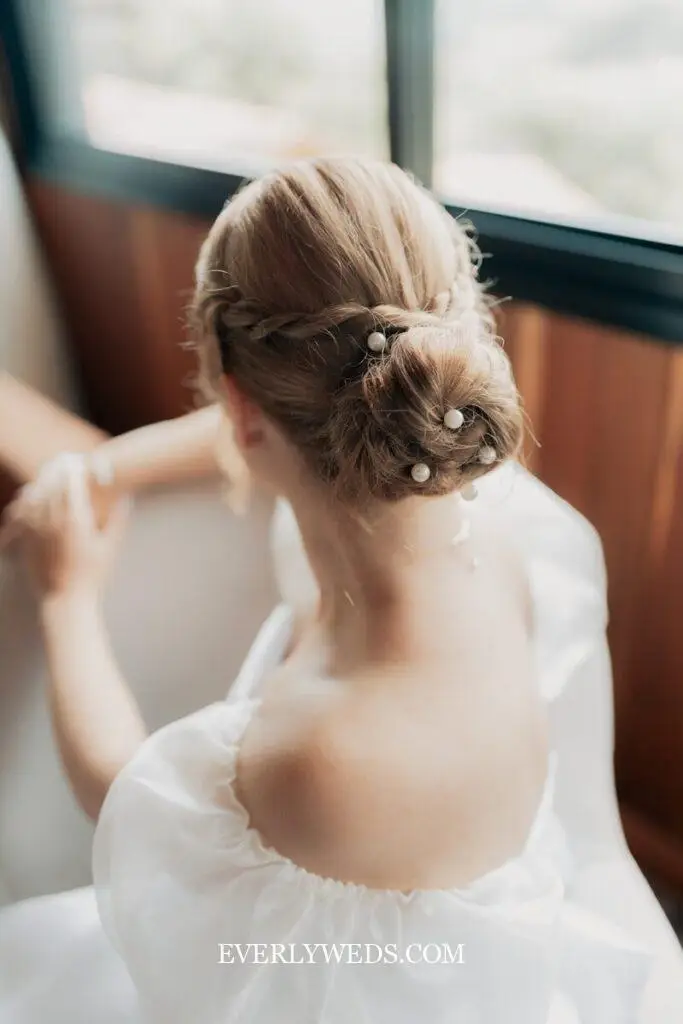
The loose low bun is the style I see saved the most on Pinterest, and it’s genuinely beginner friendly. Wrap hair around a foam donut bun from Goody or Kitsch, about $6, pin it loosely, then pull a few pieces out around your face. Total DIY cost lands around $12 once you add a pack of bobby pins. Hiring it out costs $90 to $130 since most stylists build in volume and texture first, which takes real time. I did my own version of this bun for a bridal shower and it held for six hours through dinner and dancing, so don’t let anyone tell you a DIY bun can’t survive a reception.
4. Half-Up Half-Down Twist
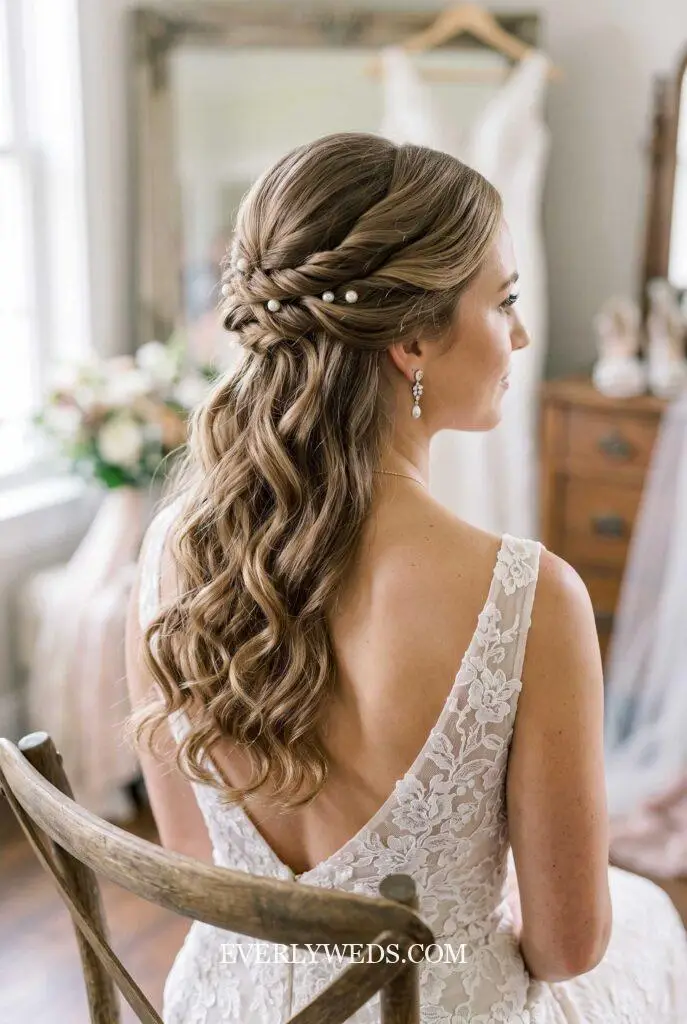
A half-up twist gives you the best of both worlds, hair down for photos and hair pinned back so it stays out of your face during the ceremony. To DIY it, twist two front sections back and secure with a few pearl pins from somewhere like Etsy, then leave the rest down and curled. Expect to spend $20 to $25 on pins and a curling tool. Salons price this style at $150 to $200 because it involves both curling and precise pinning. I always tell brides this is a good middle-ground choice if you’re nervous about a full updo but still want your hair off your face for the vows.
5. Milkmaid Braid
The milkmaid braid is romantic, and it happens to be one of the more forgiving DIY braids because small mistakes just read as texture. Braid two sections starting at your temples, cross them over the crown, and pin in place with bobby pins, about $8 total. A salon version runs $110 to $150 and usually adds baby’s breath or small florals worked into the braid, which is a nice touch if your budget allows it. This style works best on second-day or slightly dirty hair, so don’t wash your hair the morning of if this is your pick. Fresh, squeaky clean hair is honestly harder to braid neatly.
6. Fishtail Braid Down
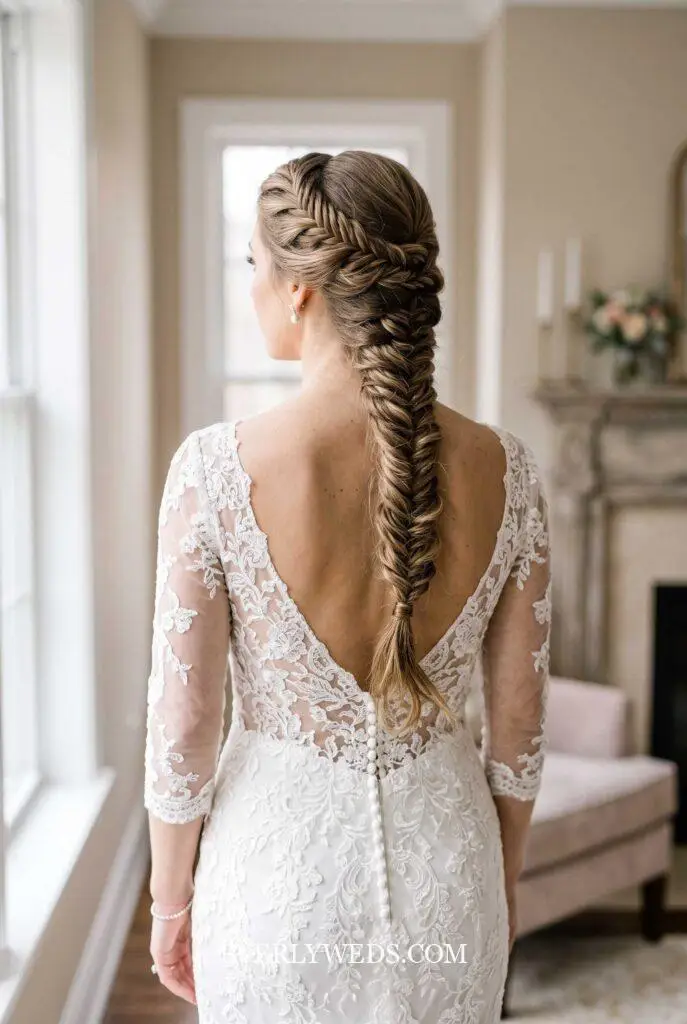
A fishtail braid down the back looks intricate but it’s really just patience. Take small sections from the outer edge of each side and cross them over, repeating down the length, then loosen it gently once you reach the end. All you need is a few clear elastics, so this one costs next to nothing to DIY, maybe $5. Salons charge $100 to $140 for this look since it takes 30 to 40 minutes to braid neatly on someone else’s head. My sister braided mine the morning of a friend’s wedding in about 20 minutes flat, and it survived a full night of dancing without a single flyaway.
7. French Twist
The French twist is one of the few styles on this list I’d actually hire out. It looks simple but getting it perfectly smooth and secure takes real technique, and a lopsided twist reads sloppy in photos in a way a loose bun never does. If you want to try it yourself, budget $15 for a strong hold spray like Oribe Free-Styler and about 40 U-pins. A stylist will charge $120 to $160 and can usually finish it in 20 minutes flat. So if your budget only stretches to one splurge, this is the style I’d spend it on.
8. Braided Low Bun
Combine a simple braid with a low bun and you get a style that looks more elaborate than it is. Braid a small section on one side, wrap the rest into a low bun, then wind the braid around the base to cover the elastic. Expect to spend around $15 on pins and a texturizing spray like Oribe Dry Texturizing Spray, which gives your hair enough grip to hold the braid shape. Salons price this at $150 to $190 because it combines two techniques. This was actually the style my niece wore as a bridesmaid, and it held through an outdoor ceremony in July without a single pin falling out.
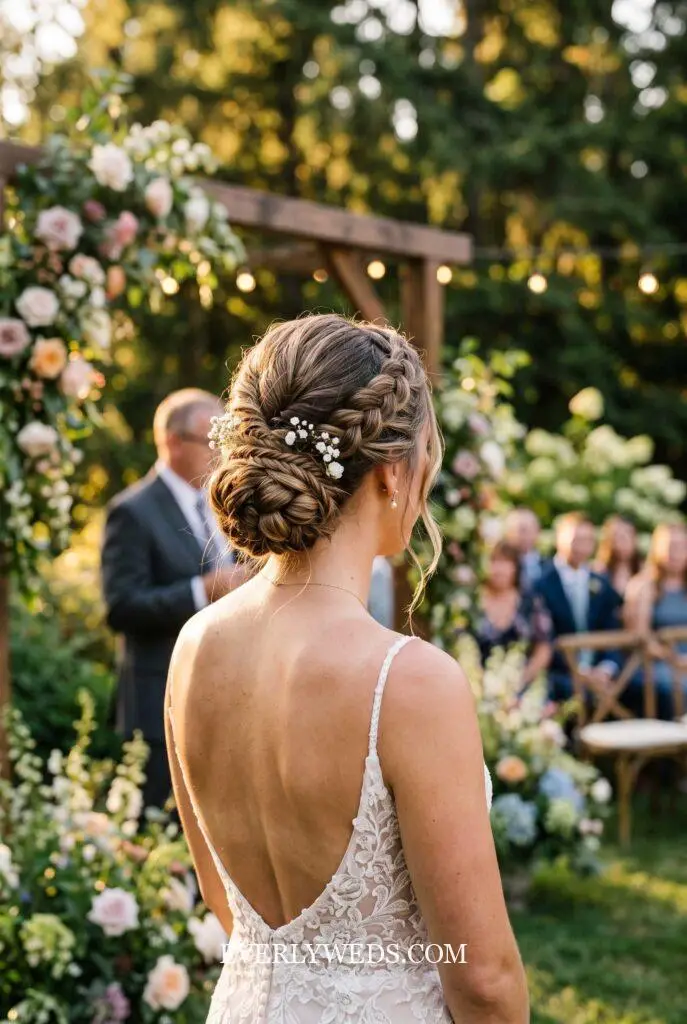
9. Textured Top Knot
A textured top knot sits higher and looser than a classic bun, and it pairs beautifully with a veil pinned just underneath it. Backcomb the crown slightly for volume, twist hair up into a loose knot, and pin it so it looks a little undone on purpose. You’ll spend about $10 on a good backcombing brush and bobby pins if you don’t already own one. A stylist charges $130 to $170 for this look since the backcombing and shaping takes practice to get right without looking messy. My honest opinion is this style photographs better from the front than any other updo on this list.
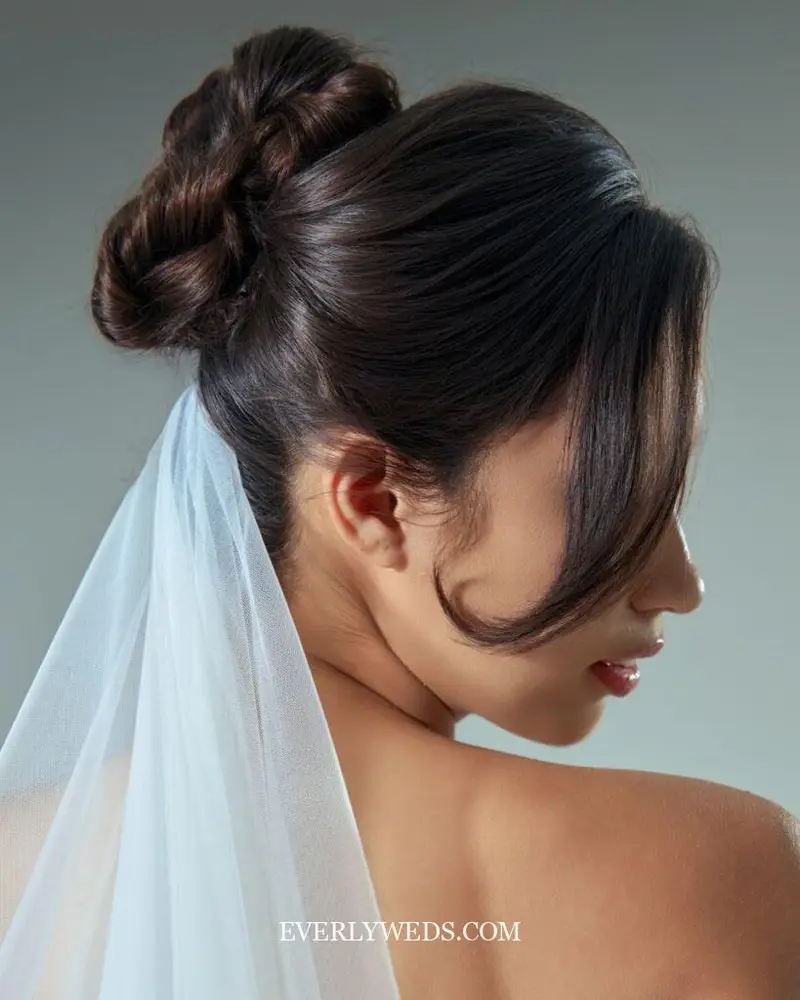
10. Deep Side Part Sleek Updo
A deep side part paired with a sleek updo is elegant, but I don’t recommend DIYing this one unless you’re genuinely skilled with a flat iron and gel. Getting a part this crisp and a finish this smooth without any bumps takes a trained hand. Salons charge $180 to $220 for this style, and it’s worth every dollar if your dress has a high, structured neckline that needs a clean line at the hairline. If you want to try it anyway, budget $20 for gel and a boar bristle brush, but do a full trial run at least a month out so you’re not learning this technique on your wedding morning.
11. Soft Romantic Updo With Face-Framing Pieces
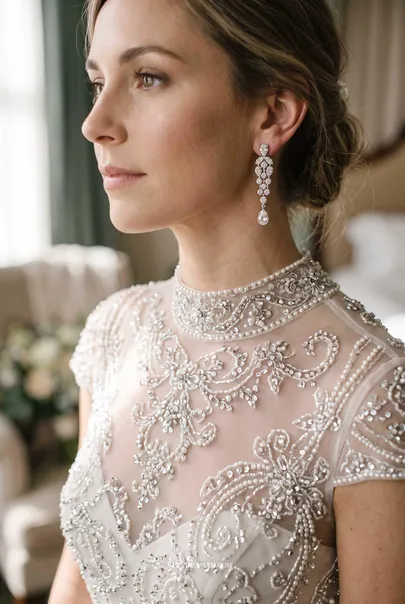
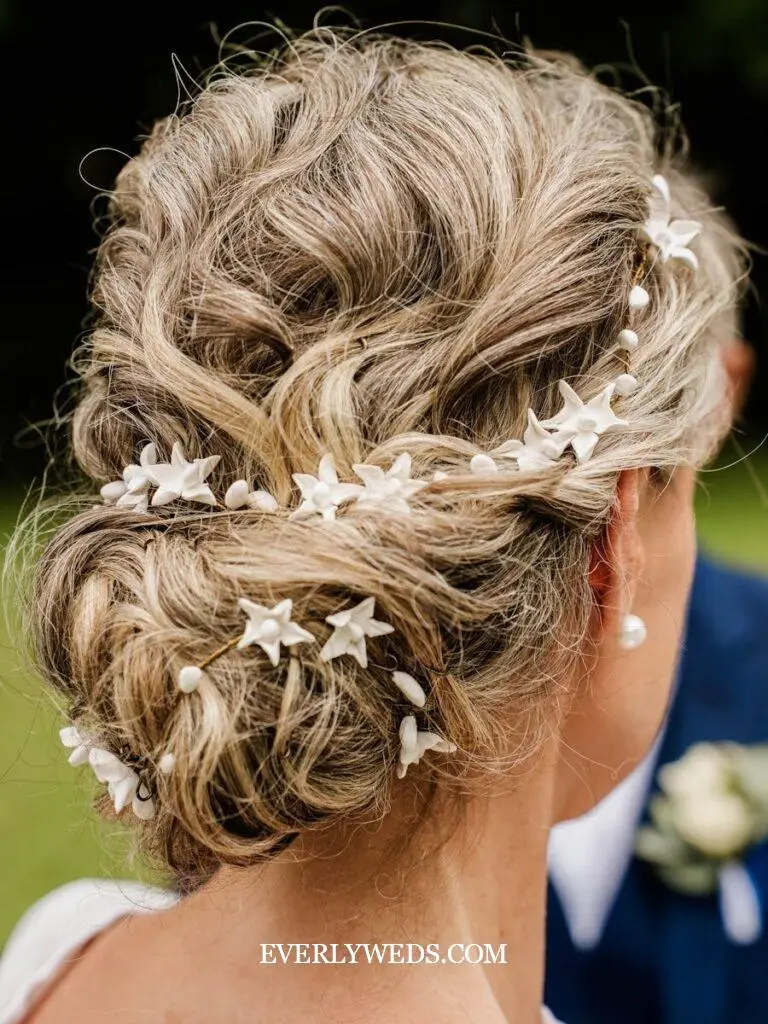
This is the classic bridal updo you see in most magazine spreads, soft curls pinned up with a few loose pieces framing your face. It requires teasing at the crown, careful pin placement, and curling the face-framing pieces separately so they hold shape all day. I don’t recommend DIYing this one for your actual wedding, even if you’ve practiced, because it’s genuinely a two-hand job. Salons charge $250 to $300 for this style, which usually includes a trial run beforehand. My best advice is to bring photos from three angles to your trial, not just the front, since this style needs to look finished from behind too.
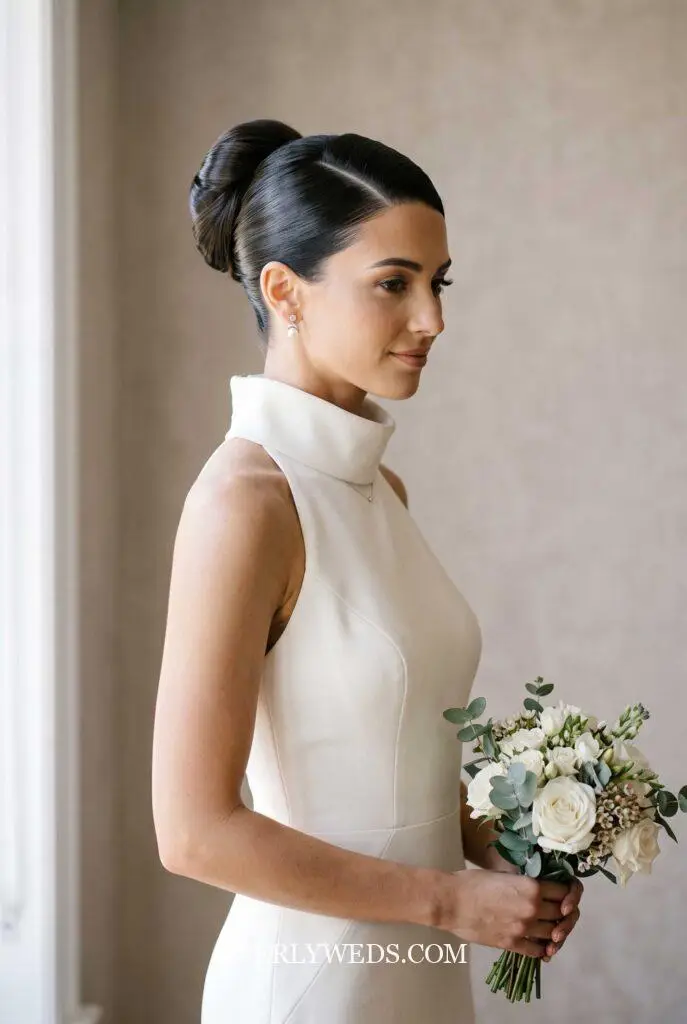
12. Classic Chignon
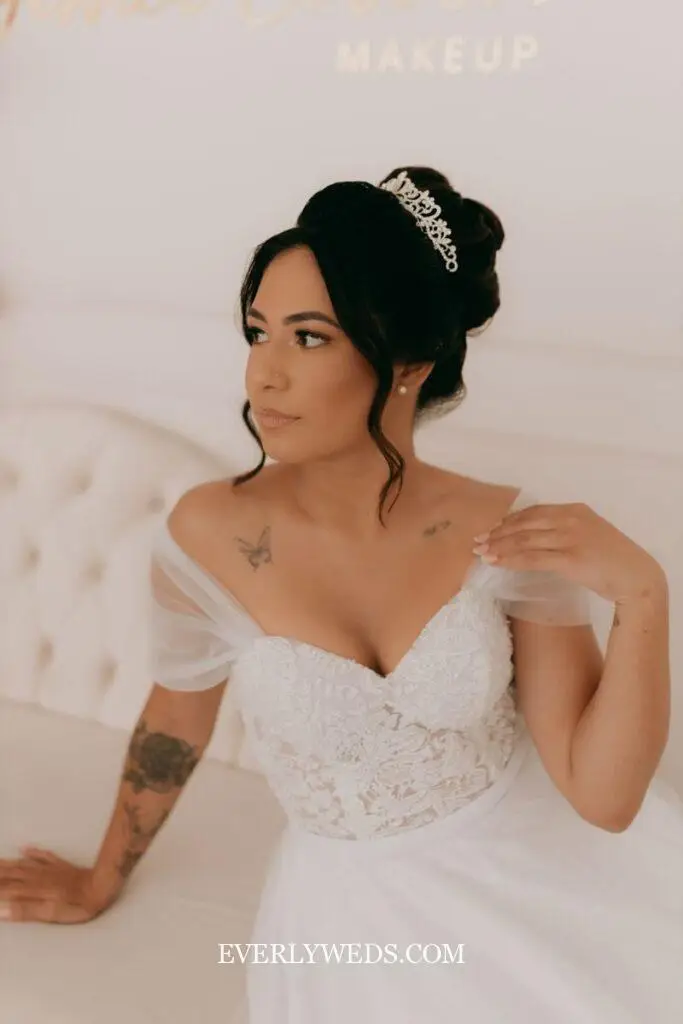
A classic chignon sits low and tight at the nape and gives you a polished, almost old-Hollywood look. It’s one of the harder styles to DIY neatly because the smoothness at the crown makes any bumps or flyaways obvious. Salons charge $200 to $260 for a chignon, and most stylists use a setting spray like Kevin Murphy Session.Spray to keep it locked down through humidity and dancing. If your wedding is outdoors in the summer, this is a smart pick since it stays close to your head and won’t wilt the way looser styles sometimes do in heat.
13. Braided Crown
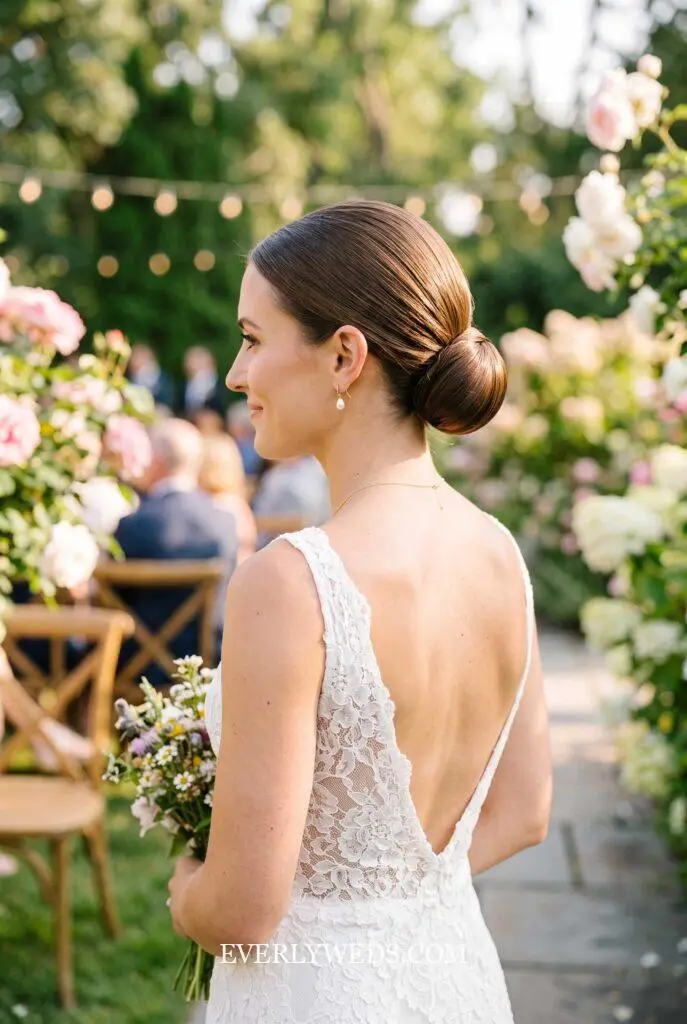
A braided crown wraps one or two braids around the top of your head like a halo, and it’s a favorite for boho and outdoor weddings. You can DIY this one, but give yourself real time, closer to 90 minutes if it’s your first attempt, and practice at least twice beforehand. Budget $15 for bobby pins and a texturizing spray to keep the braid from looking too neat. Salons charge $180 to $230 and can finish it in about 30 minutes. This was the style I wore for my own wedding rehearsal dinner, and I’ll be honest, my first attempt at home took closer to two hours.
14. Sleek Bun With Veil-Ready Base
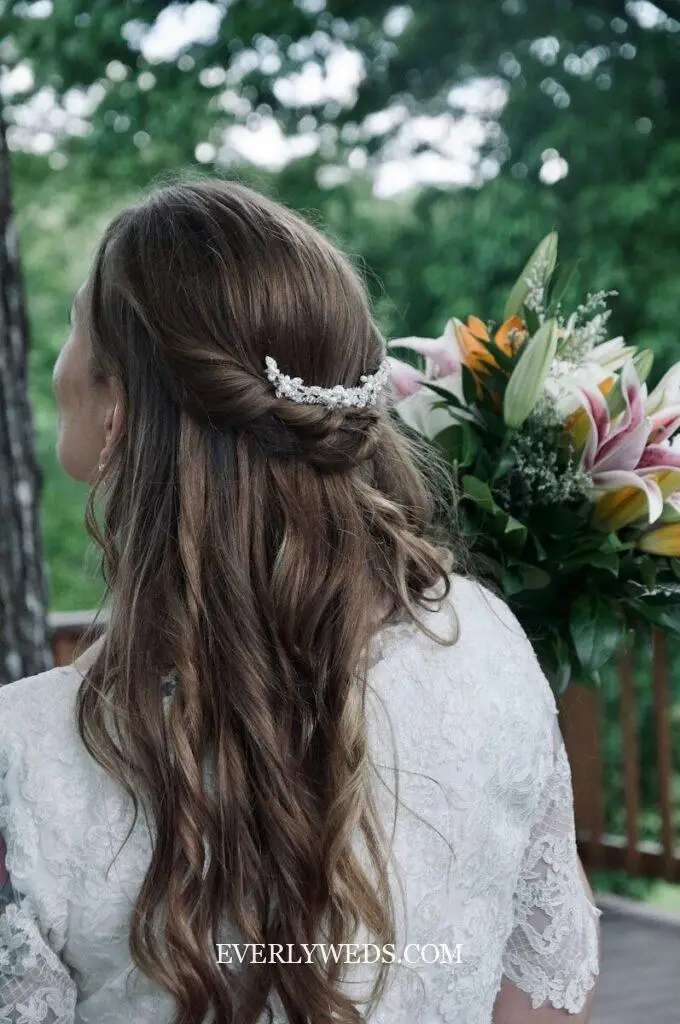
If you’re wearing a veil, ask your stylist specifically for a sleek bun built for pins, since not every bun style leaves enough structure to anchor a veil comb securely. This is a style I’d leave to a professional, because a veil that shifts during your ceremony is not a fix you want to be making in the aisle. Salons charge $220 to $280 for this combination since it takes extra time to build a base that can hold both hairstyle and veil weight. Bring your actual veil to your hair trial, not a photo of it, so your stylist can test the placement and weight beforehand.
15. Second-Day Undone Waves
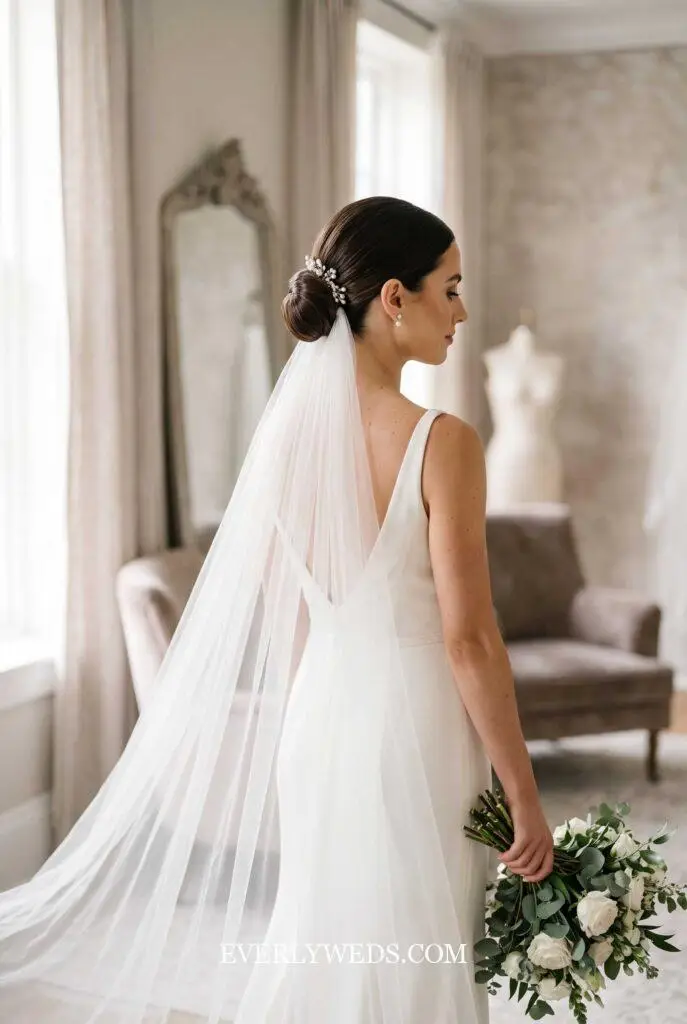
Sometimes the simplest wedding hairstyle is the one you don’t touch much at all. If you naturally have loose waves or a soft texture, a light finishing spray and a little dry shampoo at the roots might genuinely be all you need. This costs you close to nothing, maybe $10 for a good dry shampoo like Amika Perk Up. A stylist will still charge $60 to $90 just to add texture and a bit of hold, since even “undone” hair for a wedding usually gets some product and pinning behind the scenes. My honest opinion is this is the most underrated option for brides who hate the feeling of overdone hair.
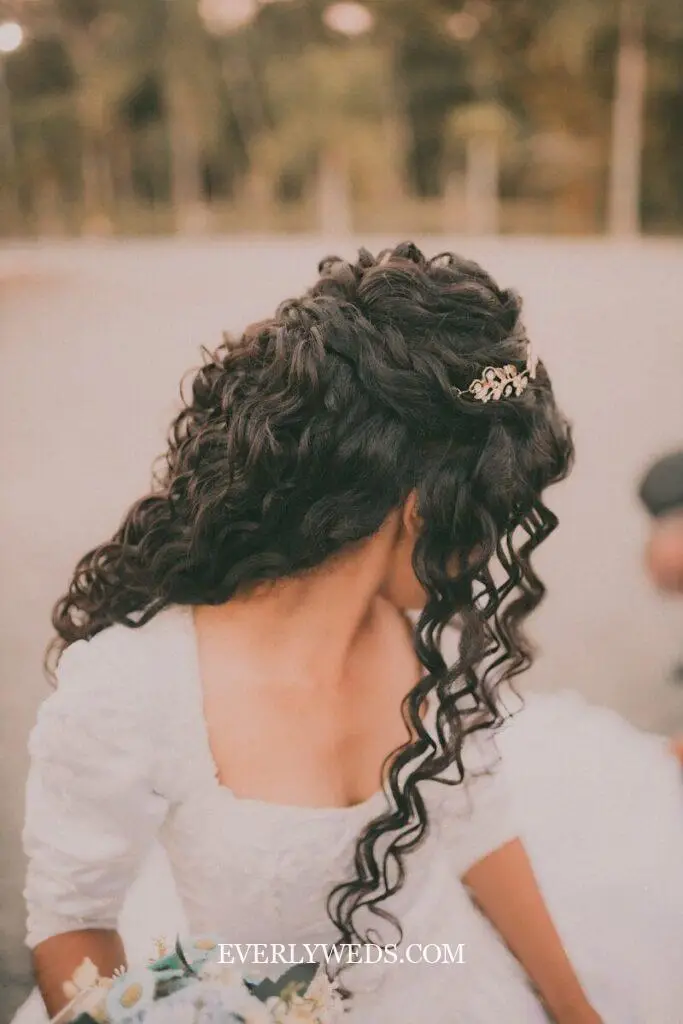
My best advice, after helping plan weddings on every kind of budget, is to pick your style based on your dress neckline first and your Pinterest board second. Book a trial for anything you’re paying a stylist for, and if you’re going the DIY route, practice the exact style twice before your wedding morning, not once. Either way, a simple wedding hairstyle done well will always photograph better than a complicated one done in a rush.