9 Ways To Wear Pearls In Your Wedding Hair And What Each One Costs
-
 Patricia T. Eliason | 03 Aug, 2026
Sneak Peak - Inspiration Gallery
What's Inside


Pearl hair is having a real moment right now, and it is not just showing up as a hair color trend. Brides are asking for pearl hairstyles at almost every trial I sit in on, whether that means an actual pearl blonde hair color or a simple pearl hair clip tucked into a low bun. The tricky part is nobody tells you what these looks actually cost or how they hold up through a full wedding day. So I put together the honest breakdown, the one I wish someone had handed me before my own big day.
Below are 9 ways to wear pearls in your wedding hair, from a single pearl hair clip to a full pearl blonde hair color change. Each one comes with a real price range and a planning tip so you know exactly what you are signing up for. Pin the ones that fit your budget and your bridal hair and makeup vision.
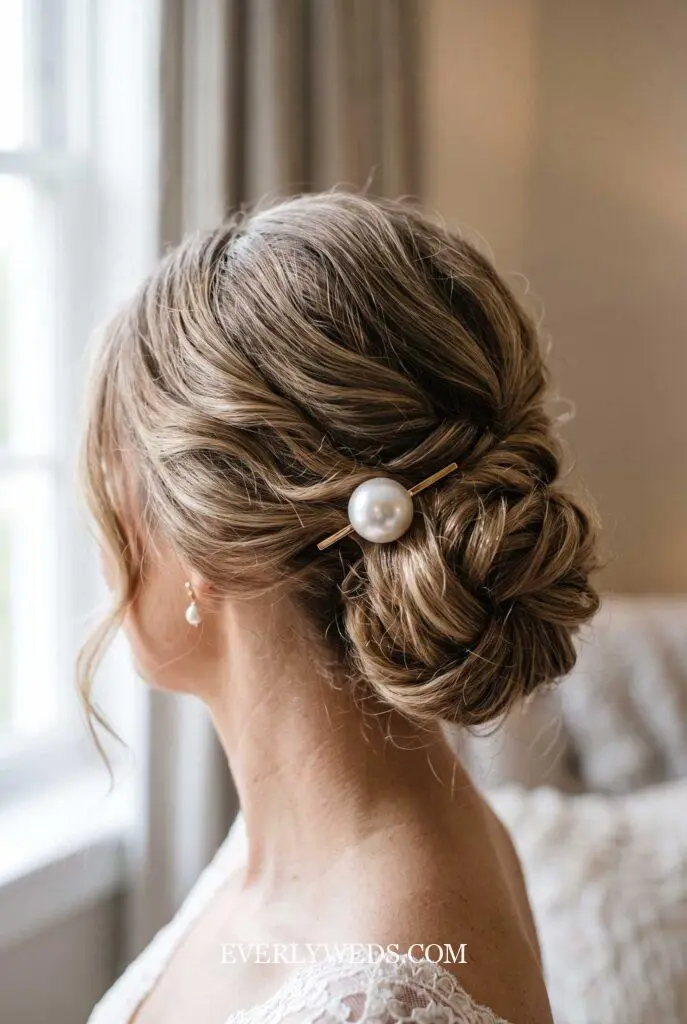
1. A Single Statement Pearl Hair Clip
This is the easiest entry point into pearl hairstyles and it is where I tell most brides to start. One oversized pearl hair clip, placed slightly off center in a low bun or half up style, does more work than five small pins scattered around. Expect to pay somewhere between $18 and $45 for a good quality clip, more if it is freshwater pearl instead of acrylic. I still have mine from 2008, tucked into a drawer at the lake house, and it still looks brand new. Ask your stylist to place it after your hair is fully set so it does not slide.
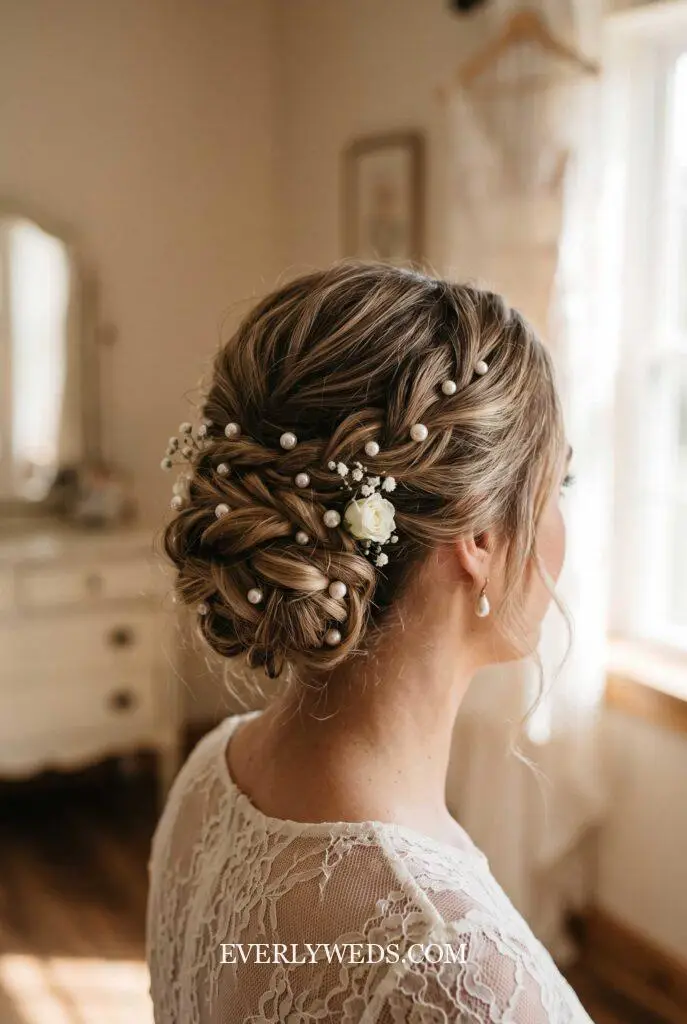
2. Scattered Pearl Pins Through An Updo
If you want that soft, lit-up look without one obvious focal point, scattered pins are the move. Most brides need between 8 and 14 individual pearl pins to cover a full updo without it looking sparse. Buy them in bulk sets, since single pins add up fast and you will lose one or two before the reception is over no matter how careful your stylist is. A set of 20 to 30 pins usually runs $25 to $60. Have your stylist twist small sections and tuck the pins in against the base, not the top, so they catch light instead of shadow.
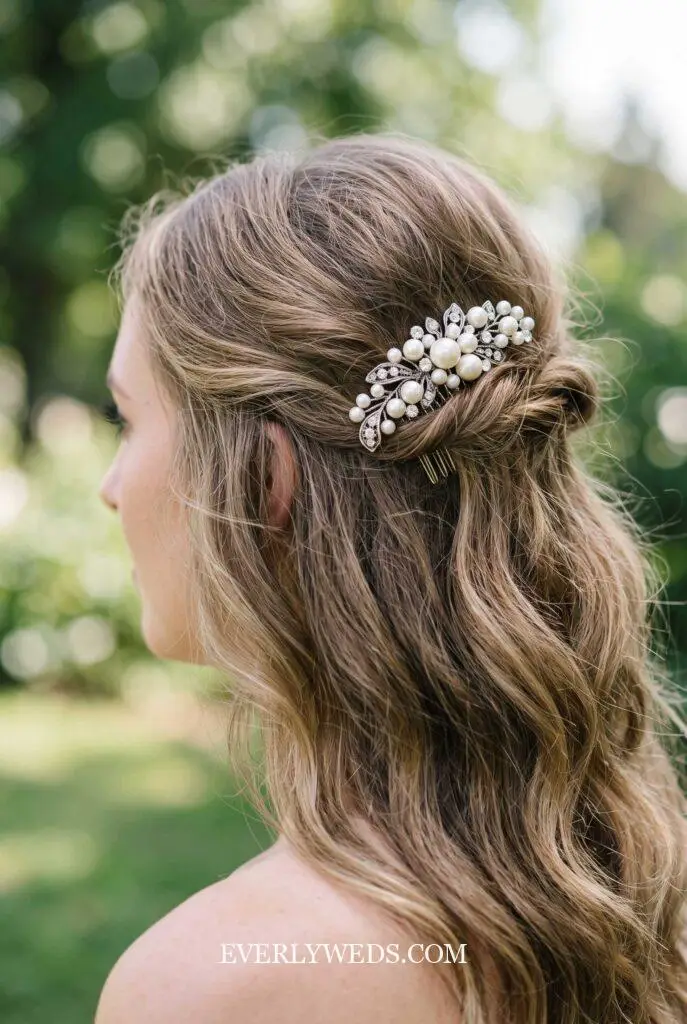
3. A Pearl Comb Tucked Into Loose Waves
Pearl combs work best with loose, natural waves rather than a sleek updo, and they photograph beautifully from the back. Look for a comb with a sturdy metal base, since the cheap plastic ones bend and slip out mid dance floor. Prices range from $35 for a simple design to $150 for a designer piece with layered pearls and crystal detail. Ask your stylist to backcomb slightly at the placement point before sliding it in. This gives the comb something to grip so it survives your first dance, not just your ceremony walk.
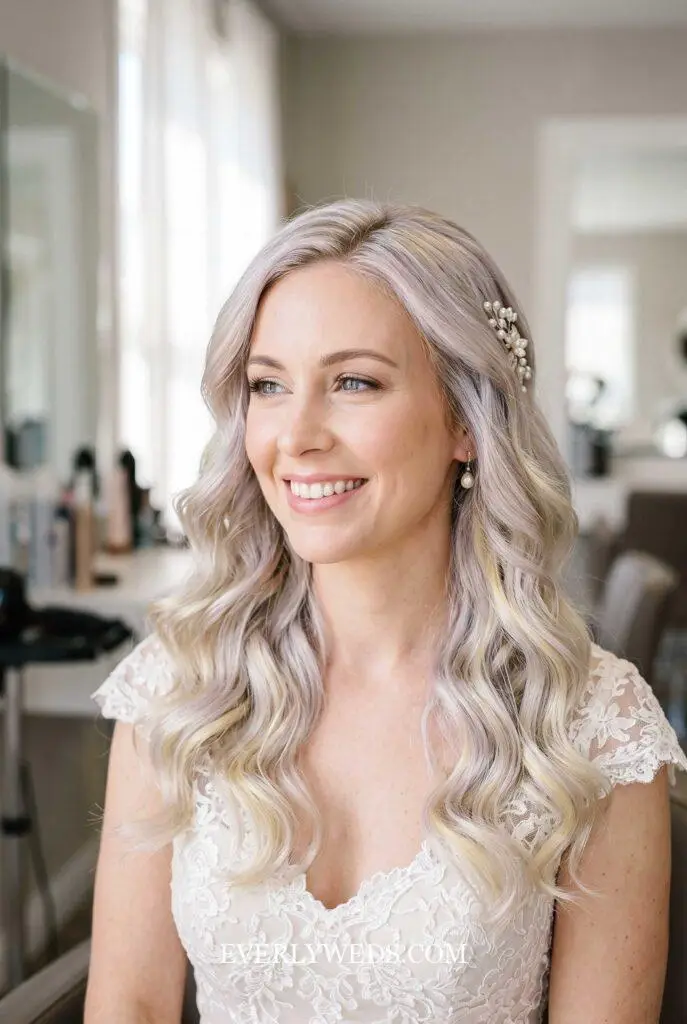
4. Pearl Blonde Hair Color As Your Base
This one is a bigger commitment, but it might be the most talked about pearl hair trend right now. Pearl blonde hair color layers cool platinum, soft silver, and pale yellow tones to create that shimmery, pearlescent glow instead of a flat single blonde. A full color transformation at a good salon runs $200 to $500, plus a touch up every 4 to 6 weeks leading into your wedding. Start this process at least 4 months out. Bleaching takes time to look healthy, and you do not want to be testing a brand new color the week of your wedding.
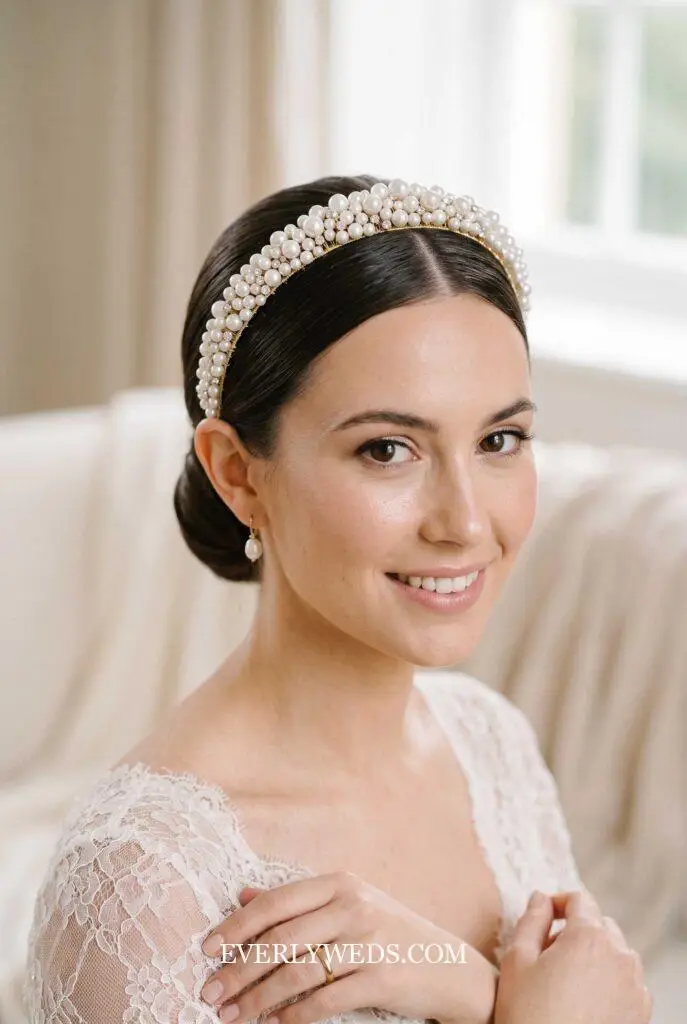
5. A Pearl Studded Headband For A Modern Bridal Hair Look
If you love modern bridal hair and want something a little more structured than pins, a pearl studded headband gives you that without feeling like a costume piece. These work especially well with sleek, low buns or slicked back styles that are trending for 2026. Budget $40 to $90 for a well made one, and try it on with your actual dress neckline before buying, since a thick headband can compete with a high collar or statement earrings. Order it at least 6 weeks before your wedding so there is time to size it if it feels too tight.
6. A Pearl Trimmed Veil Instead Of Separate Accessories
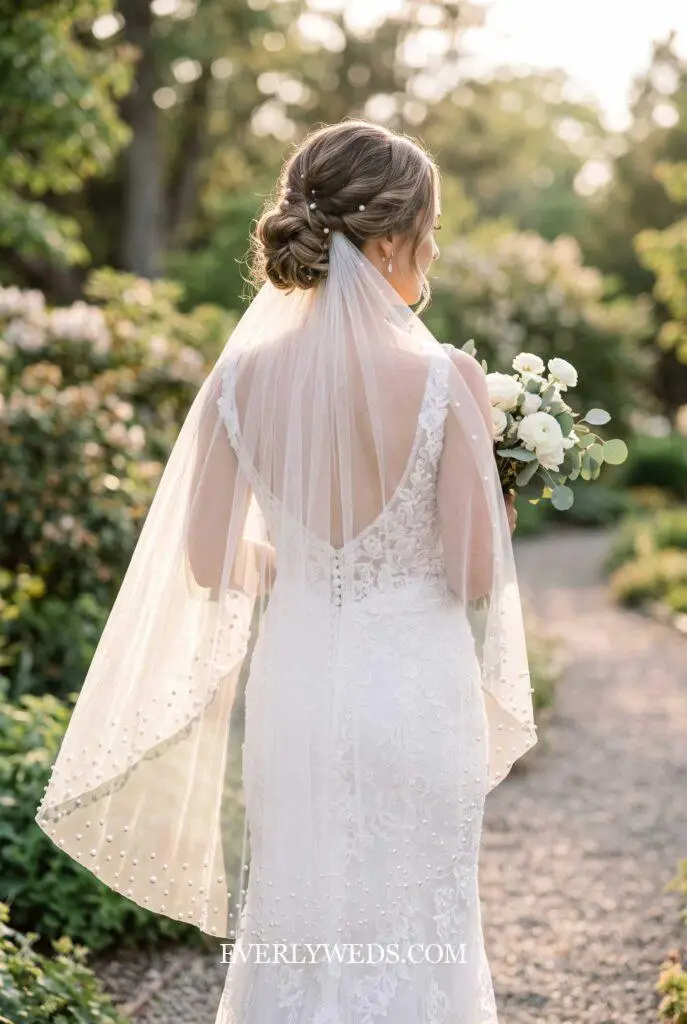
Instead of layering a veil and pearl pins separately, a lot of brides are choosing a veil with pearls scattered directly along the edge or through the tulle. This gives you the pearl detail without adding weight or bulk to your actual hairstyle. Simple pearl edge veils start around $80, while a full cathedral length with dense pearl scatter can run $300 or more. This is the easiest option if your stylist is nervous about pin placement, since the pearls come attached and secured already.
7. A Small Pearl Drop Hairpin Near The Face
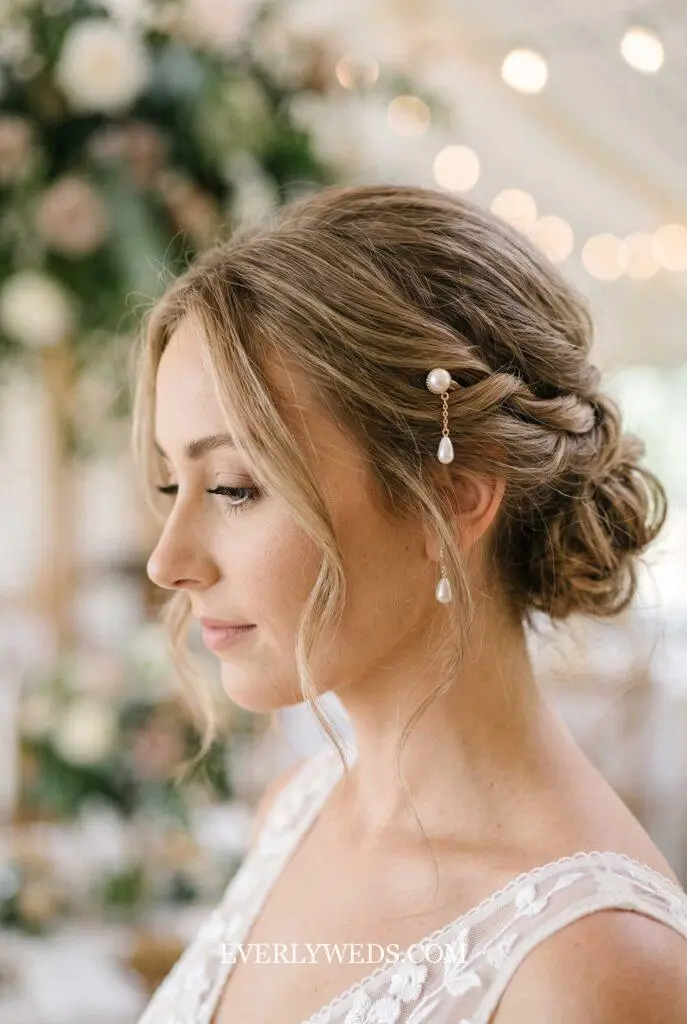
This one is subtle and I love it for brides who do not want a lot of hardware in their hair. A single small pearl drop pin, placed near the temple or just above the ear, frames the face without taking over the whole look. These run cheap, usually $10 to $25 each, so you can buy two or three and let your stylist decide the day of based on how your veil sits. It pairs especially well with a low chignon or a soft side part.
8. A Pearl Vine Woven Through A Braided Crown
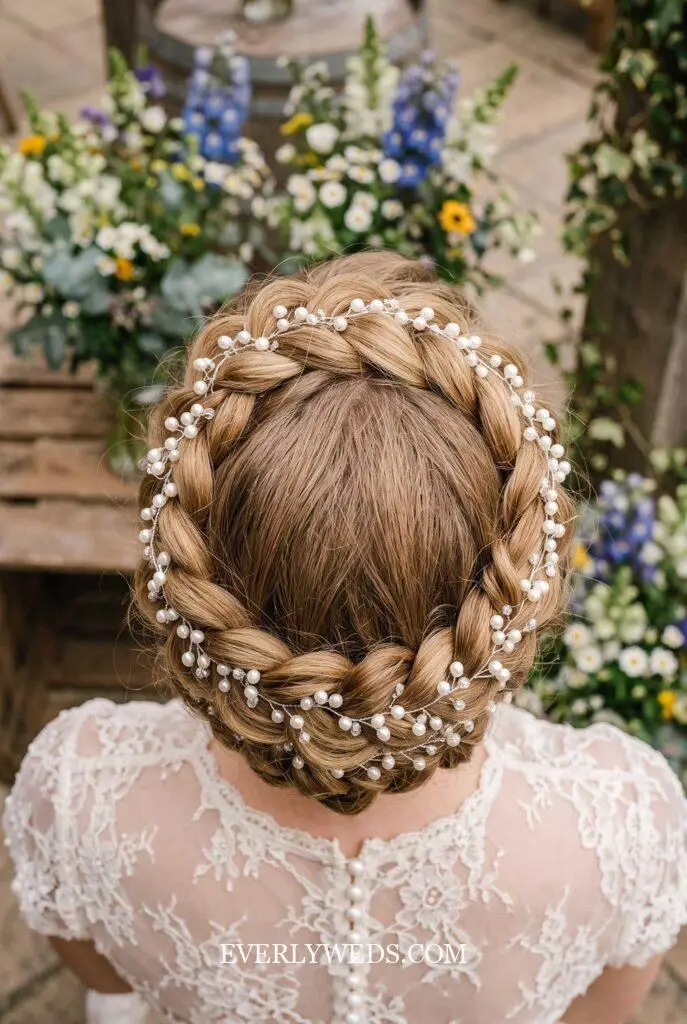
For an outdoor or rustic wedding, a pearl vine woven through a braided crown gives you texture without going full boho floral. The vine style lets your stylist wrap it wherever the braid needs a little extra shine, so it looks intentional even if your braid is not perfectly symmetrical. Expect $30 to $70 for a good vine, and bring it to your hair trial rather than the wedding day itself. Braided crowns take practice to get right, and you want your stylist working with the actual piece at least once beforehand.
9. Pearl Baby’s Breath Mixed Into Fresh Florals
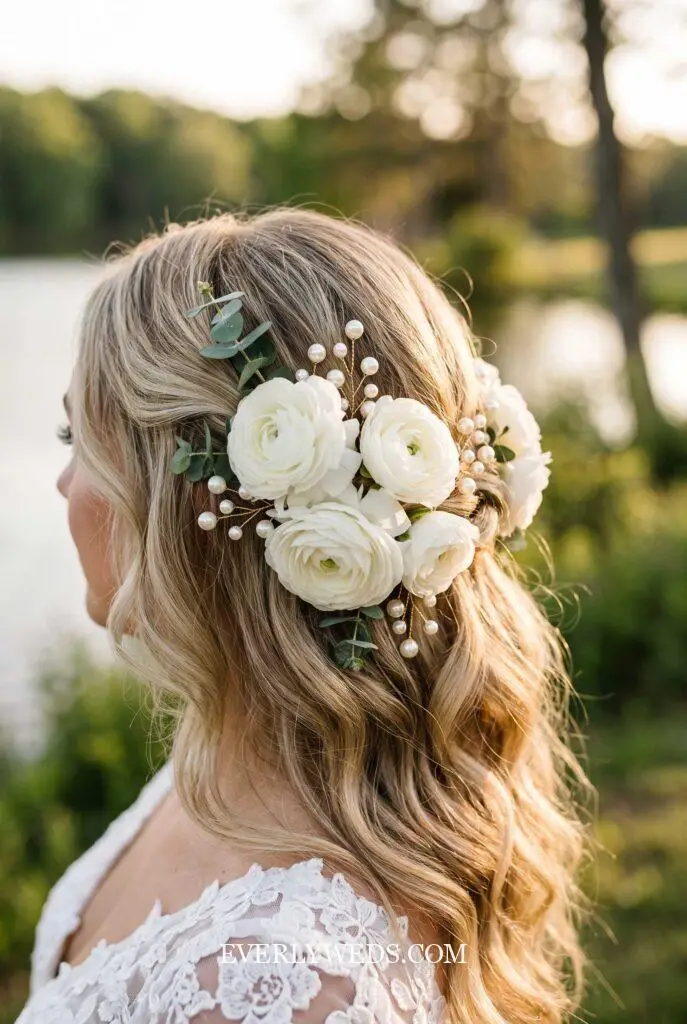
This is a favorite for anyone already working fresh flowers into their hair and wanting to add a little more shine without another appointment. Small faux pearl sprays, styled to look like baby’s breath, get tucked in right alongside real florals by your florist or stylist the morning of. They typically cost $15 to $35 for enough to fill out a full look. I did something close to this for my own lakeside wedding, mixing tiny pearls into white ranunculus, and it held up through wind off the water all afternoon without a single piece falling out.
Whichever pearl hairstyle you land on, bring the actual piece to your hair trial and not just a picture of it. Pearl hair accessories all sit and catch light differently depending on your hair texture and your part, and the only way to know for sure is to see it under real light with your real hair. Save this post, screenshot your favorite option, and hand it straight to your stylist.