Fairy Lights for Your Wedding – 10 Ideas With Strand Counts and Setup Costs
-
 Patricia T. Eliason | 23 May, 2026
Sneak Peak - Inspiration Gallery
What's Inside


I am going to be honest with you. Fairy lights are the one wedding detail I wish I had done more of at my own lakeside wedding back in 2008. I had a few strands strung along the dock and called it a day, and looking back at photos I always think, more lights, more lights, more lights. Luckily you are here now and not making that same mistake.
The good news is that LED fairy lights for weddings are incredibly affordable right now. A 200-count strand of warm white LED string lights on Amazon runs about $17 to $20, and you can cover a lot of ground for under $200 if you plan smart. The other good news is that you do not need to hire a lighting professional to pull off a look that will stop your guests in their tracks. You just need a good plan and the right ideas. So here are 10 fairy light wedding ideas that look like you spent a fortune, plus the real-world details every other post skips.
1. The Canopy Ceiling Over Your Reception Tables
This is the fairy lights wedding look. If you have seen it once you have seen it a hundred times on Pinterest and there is a reason for that. It works every single time. The idea is to run strands of warm white LED string lights across the ceiling of your reception space in a crisscross grid pattern, roughly 8 to 10 feet overhead, so your guests dine and dance underneath a blanket of tiny lights. For a 40-by-60 foot reception tent, you are looking at about 400 to 500 linear feet of lights, which comes to around $70 to $100 in string lights if you buy on Amazon. If your venue has exposed beams, you are already halfway there since you can just anchor the strands to the beams. Before you start, though, ask your venue coordinator about the number of electrical outlets and their location. This is the one thing couples forget and then end up scrambling for extension cords the morning of the wedding.
2. A Fairy Light Curtain Behind Your Sweetheart Table
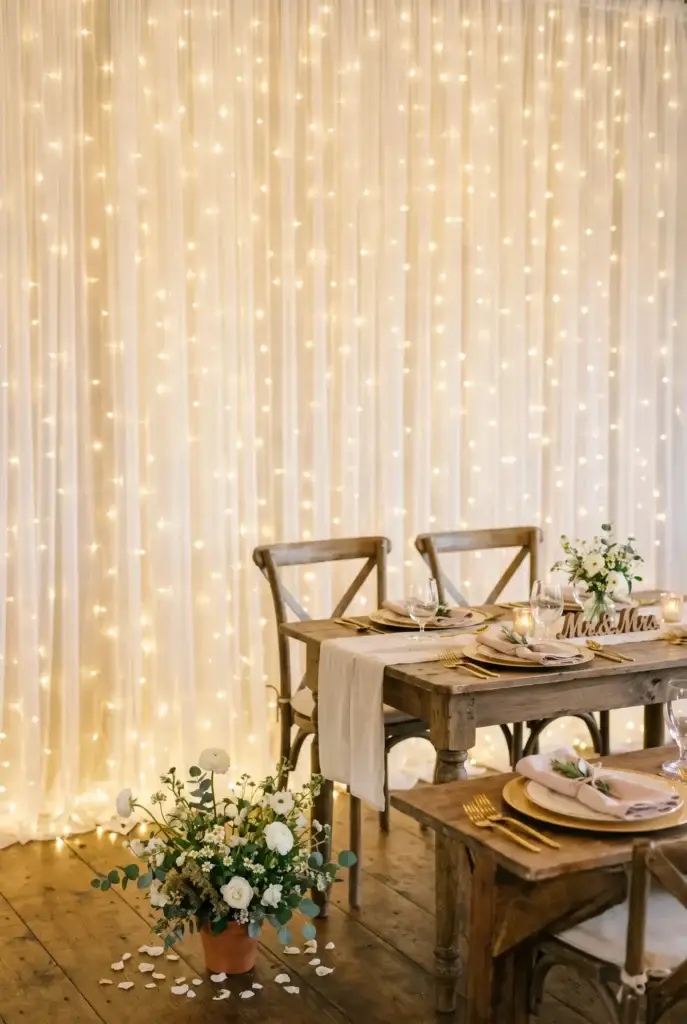
If you only do one fairy light idea for your whole wedding, do this one. A curtain of hanging string lights dropped straight down behind your sweetheart table creates an instant focal point and gives you the most beautiful backdrop for every single photo taken at that table. You want curtain-style lights for this, not a single horizontal strand. Look for “curtain lights” or “waterfall lights” on Amazon, Daybetter makes a great one at around $18 for a 9-foot-by-5-foot panel. Buy two panels and overlap them slightly for a fuller, more lush look. Add a few stems of greenery or a small floral arrangement in front of the base of the curtain and you have a backdrop that looks like a florist spent hours setting it up.
3. Wrap Your Trees (And Do Not Skip the Trunk)
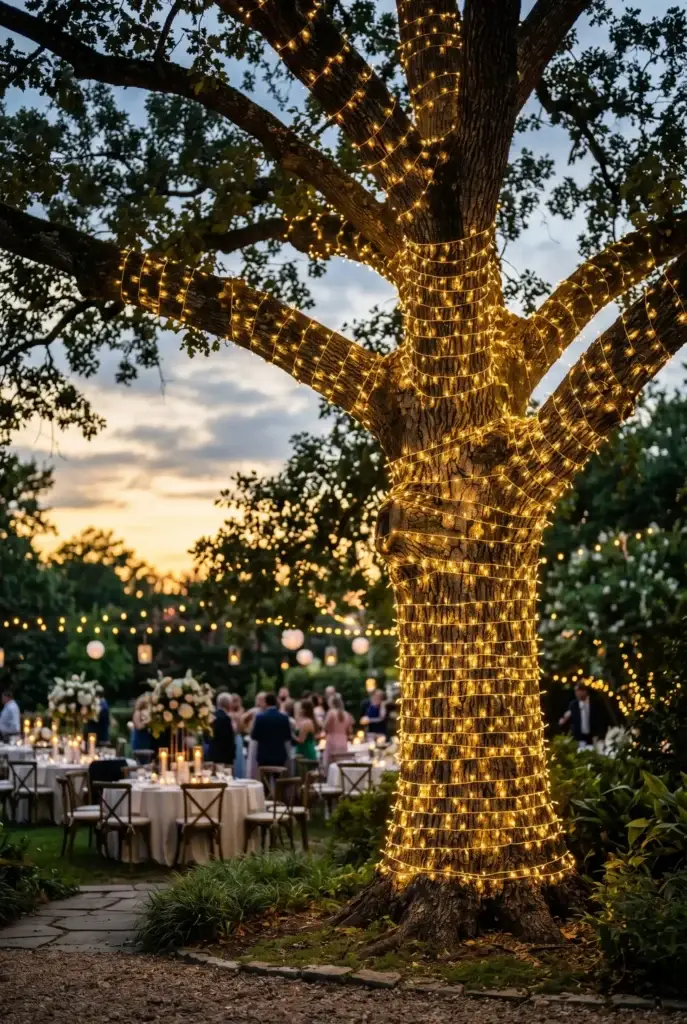
Outdoor wedding fairy lights wrapped around trees is a classic for a reason. But most people only wrap the branches and ignore the trunk, and that is the mistake. Start wrapping from the base of the trunk upward, then spiral outward onto the lower branches, and the tree looks lit from within rather than just decorated. For a medium-sized tree with a trunk about 12 inches wide, you need roughly two to three 100-count strands just for the trunk before you even get to the branches. Budget for more than you think you need here. One thing I would say from helping brides plan outdoor receptions: if your trees are more than 20 feet from an outlet, price out battery-operated string lights instead of fighting with extension cords all night. Good battery-operated fairy lights run about $12 to $15 per strand and are totally worth the peace of mind.
4. Line Your Ceremony Aisle With Mason Jar Lights
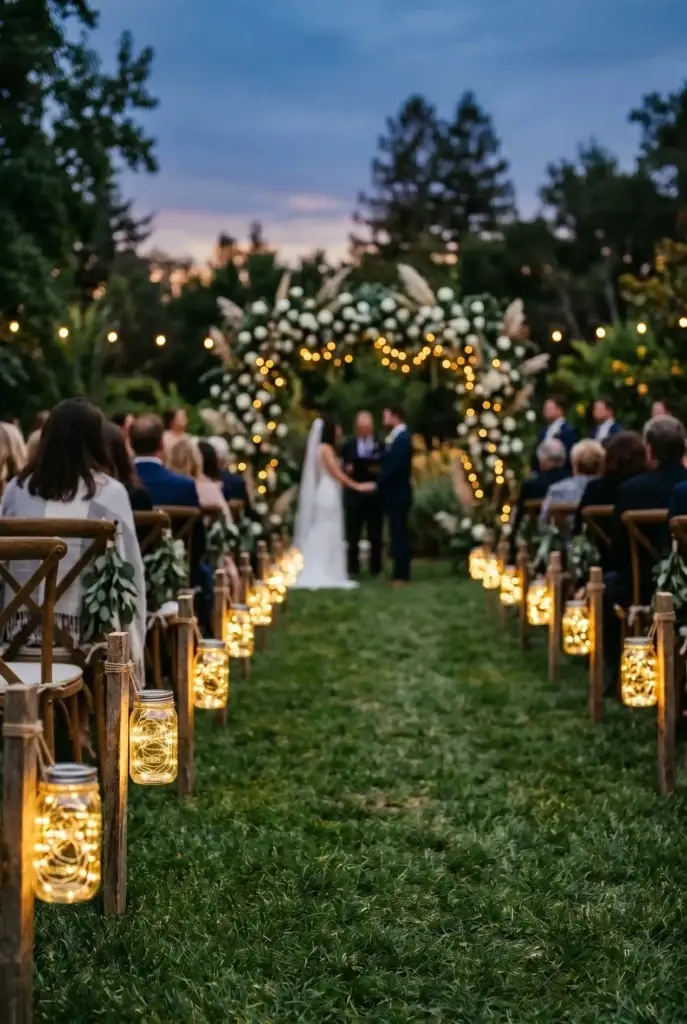
This is one of those ideas that is so simple and so stunning it almost feels like cheating. Take a set of small battery-operated fairy light strands, the ones that come in a 12-pack on Amazon for about $12, and coil one strand loosely inside each mason jar. Space the jars every two feet along both sides of your ceremony aisle. That is it. For a 60-foot aisle you need about 60 jars and 30 strands, which sounds like a lot but the total cost lands right around $30 to $40 in lights if you buy the 12-packs, plus whatever you spend on the jars themselves. Thrift stores and garage sales are genuinely the best place to find mason jars in bulk. I have helped brides source 80-plus mason jars for under $20 total by just hitting two or three Goodwill locations the month before the wedding.
5. The Warm White vs. Cool White Decision Nobody Talks About
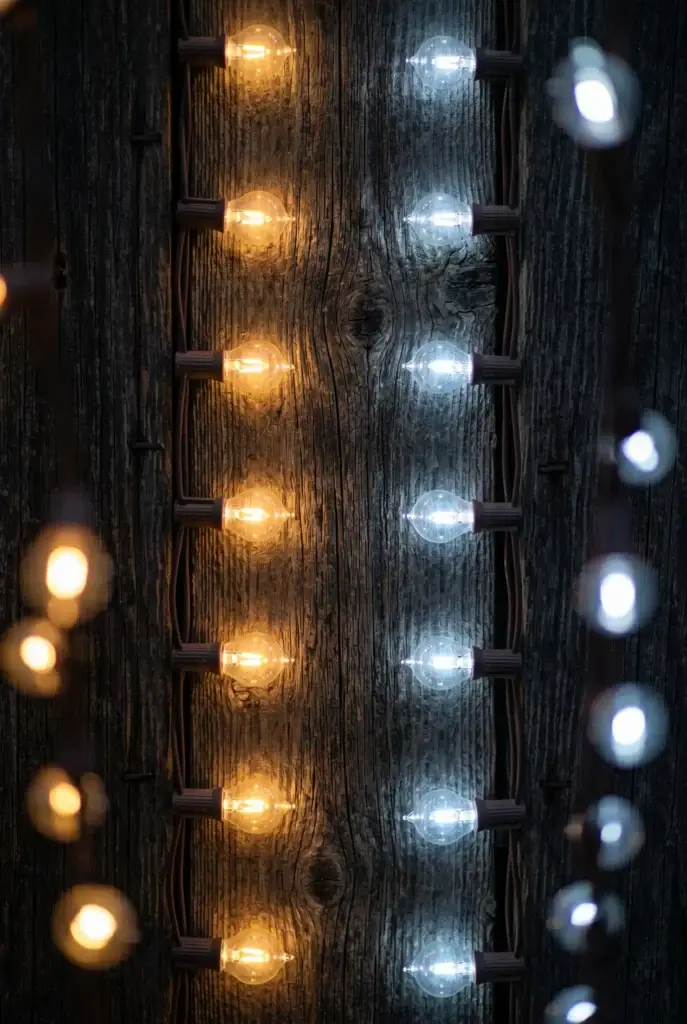
I am going to stop here and make this its own item because it is that important and every other fairy lights article just ignores it entirely. Warm white LED string lights and cool white LED string lights look completely different in person and in photos, and mixing them by accident is something you cannot fix the night of your wedding. Warm white has a soft golden glow, very close to candlelight, and it photographs beautifully in almost any setting. Cool white is crisp and blue-toned, more like daylight, and it can look harsh and clinical in indoor photos taken at night. For most wedding receptions, warm white is the right call. The only time I would recommend cool white is for a very modern, minimalist fall wedding aesthetic where that crisp look is intentional. When you order lights from Amazon, the product title will usually say warm white, daylight, or cool white right in the name, so read it carefully before you add to cart.
6. Drape Lights Along Your Outdoor Bar
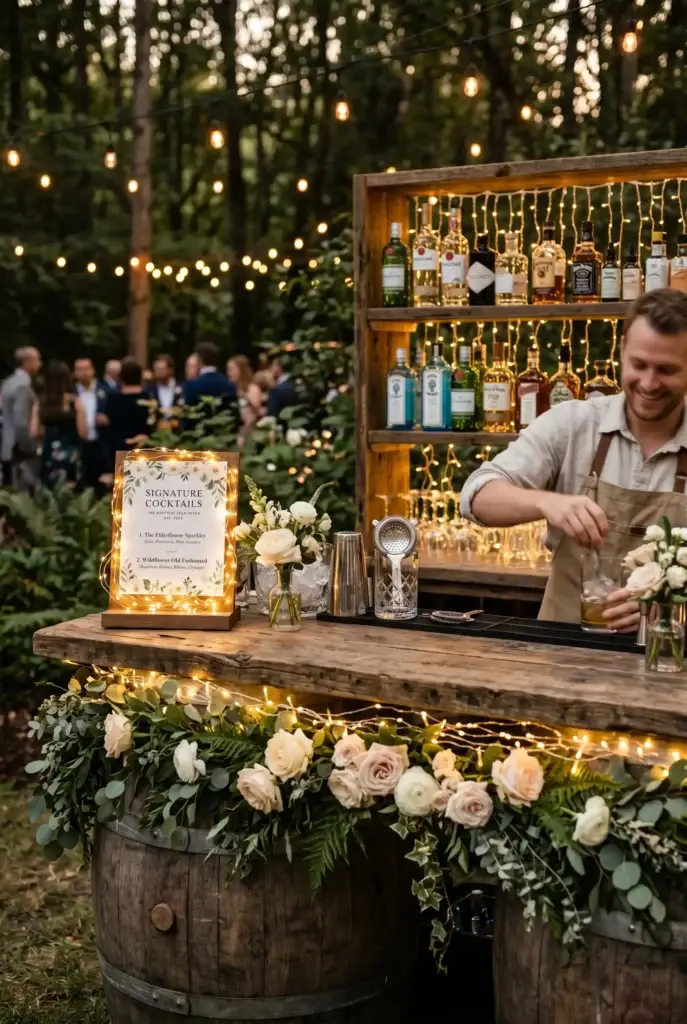
Your bar is one of the most visited spots at your entire wedding reception and yet it is one of the most underlit areas at most weddings. Draping two or three strands of warm white fairy lights along the front edge of the bar, then running another strand or two along any shelving behind the bar, makes the whole thing look like a proper setup instead of just a folding table with a tablecloth. If you are serving a signature cocktail, add a small cluster of fairy lights right behind or around the display card for the drink. Guests will notice it, photograph it, and post it. And all of this costs maybe $30 in lights total. For outdoor bars specifically, make sure any lights you use are rated for outdoor use, which most LED fairy lights are, but check the product listing to be sure.
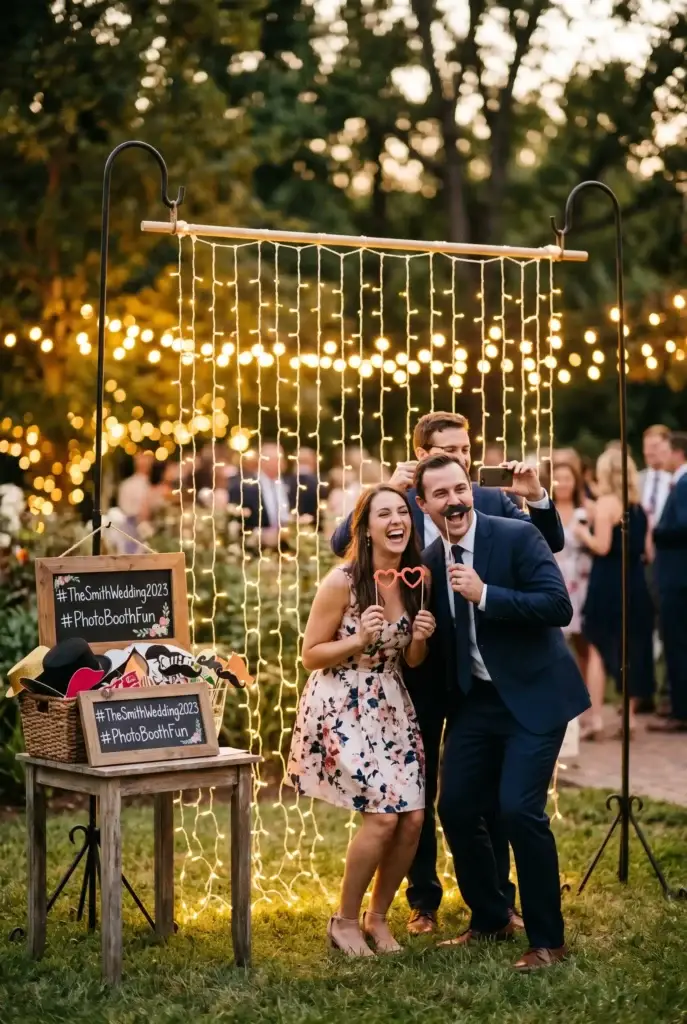
7. A Fairy Light Photo Booth Backdrop
Photo booths at weddings are huge right now, and a fairy light curtain is honestly one of the easiest and most cost-effective backdrops you can set up for one. Use the same curtain-style lights mentioned in the sweetheart table section, hang them from a simple wooden dowel or a tension curtain rod between two shepherd’s hooks, and you have a photo booth backdrop that cost you under $50 total. Add a few props on a side table, a handwritten sign with your wedding hashtag, and you are done. One practical tip here: if your photo booth area is away from the main reception lighting, add a small clip-on LED light just above the frame so your guests are actually illuminated in photos and not just silhouettes against a glowing background. That is the detail nobody thinks about until they see the pictures.
8. Fairy Lights Inside Your Floral Centerpieces
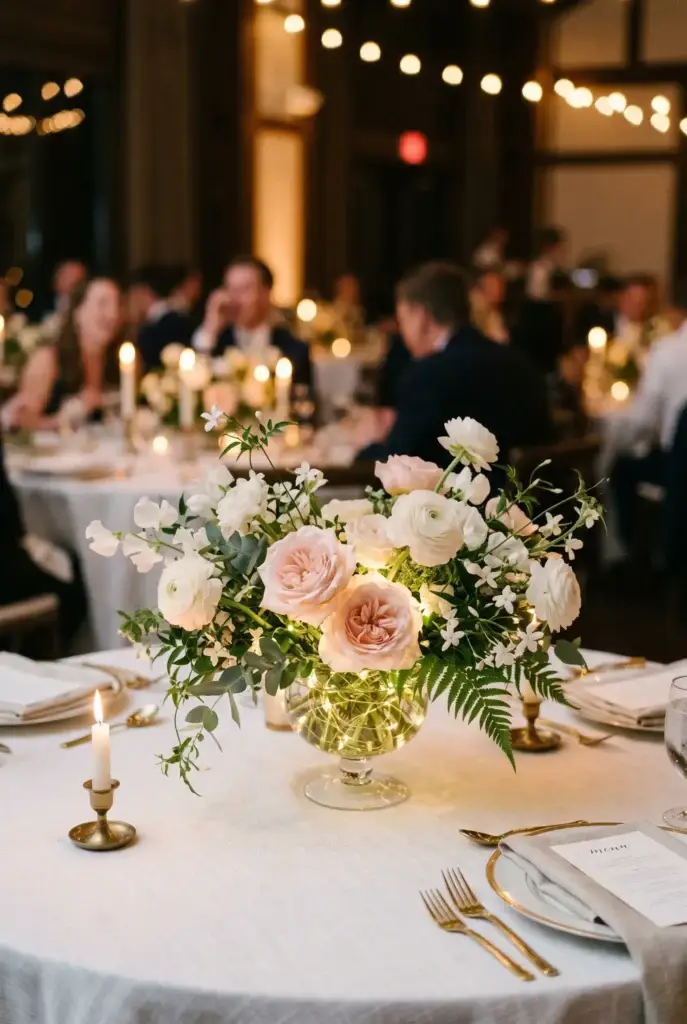
This is the idea that most brides have not seen yet, and it is one of my favorites. Take one of those small coin-battery fairy light strands, the kind that look like a thin wire with tiny bulbs, and nestle it right down into the base of your centerpiece arrangement before the florist adds the flowers on top. When the lights go low during the reception and dinner is wrapping up, those centerpieces will start to glow from the inside out. It looks incredibly expensive and it costs almost nothing since the small coin-battery strands are usually sold in 12-packs for around $12. I would suggest doing a test run with your florist ahead of time to make sure the wire does not interfere with the arrangement, but most florists are totally on board with this idea once you show them what you have in mind.
9. Light Your Walkways and Guest Pathways
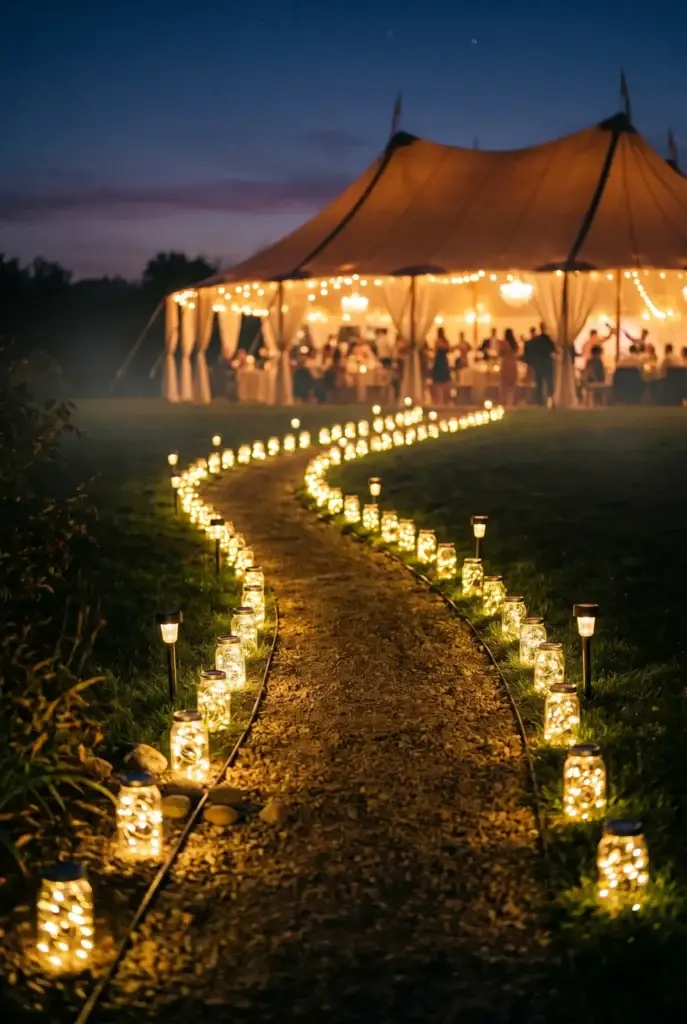
This one is partly practical and partly pretty, and you need to think about it if you are having any part of your reception outside after dark. Guests need to be able to see where they are going, and pathway lighting is something a lot of couples skip until it becomes a real problem. The easiest solution is to line your walkways with mason jar lights as I described above, or to use small solar-powered stake lights along the edges of any paths leading from parking to the ceremony or reception area. Solar stake lights are around $15 to $25 for an 8-pack and you just press them into the ground the morning of the wedding with zero setup drama. For a lakeside or garden setting, adding lanterns with fairy lights coiled inside along the path edges gives you the kind of romantic, glowing walkway that looks like it came straight from a wedding magazine. Your guests will feel like they are arriving somewhere truly special.
10. Your Ceremony Arch or Arbor With Fairy Lights and Greenery
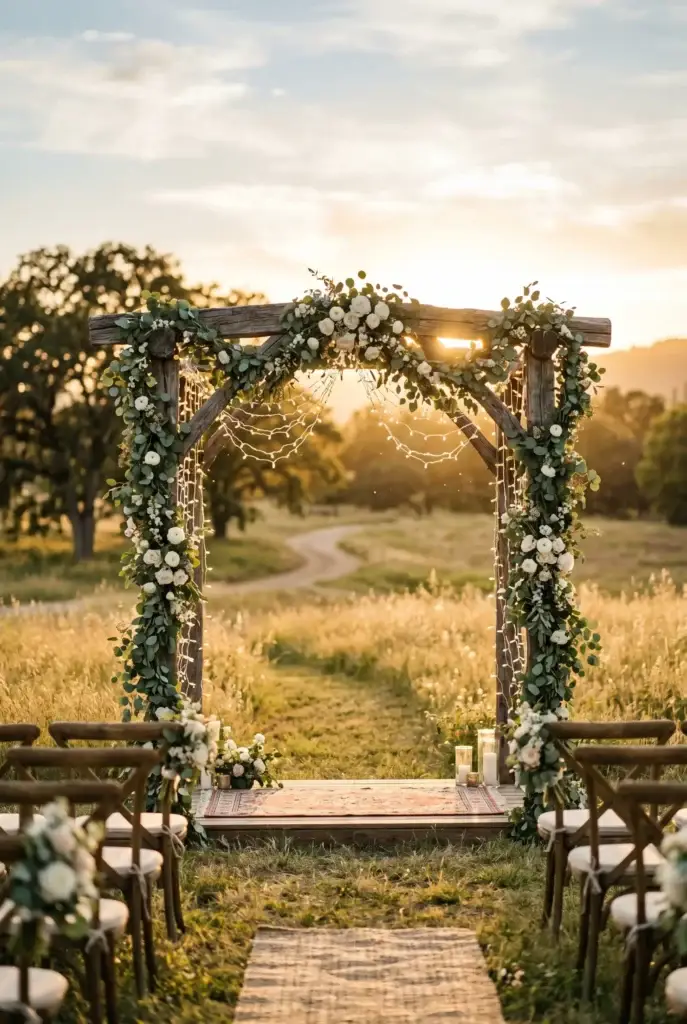
If you have a ceremony arch or arbor, wrapping it with fairy lights is probably the single highest-impact thing you can do for the look of your ceremony. The key is to not just wrap the frame in a straight line but to let the strands drape slightly and overlap so the arch has depth and texture instead of looking like a grid. Combine the lights with some loose eucalyptus or greenery garland wired around the frame and the whole thing looks lush and intentional. For a standard 8-foot-by-8-foot arch, you need about three to four 100-count strands to get good coverage without looking sparse. That is under $70 in lights. One real-world note: if your ceremony is outdoors during the day, the lights will barely show up in photos taken before sunset. Plan to have your arch photographed again during golden hour or at the start of the reception when the natural light drops and the fairy lights actually pop in pictures.